HoloFlect
Optics and Displays
How HoloFlect puts an image in front of the eye, from a reflective visor and its calibration to the display panels and driver boards behind it, plus our experiments printing and finishing lenses in clear resin.

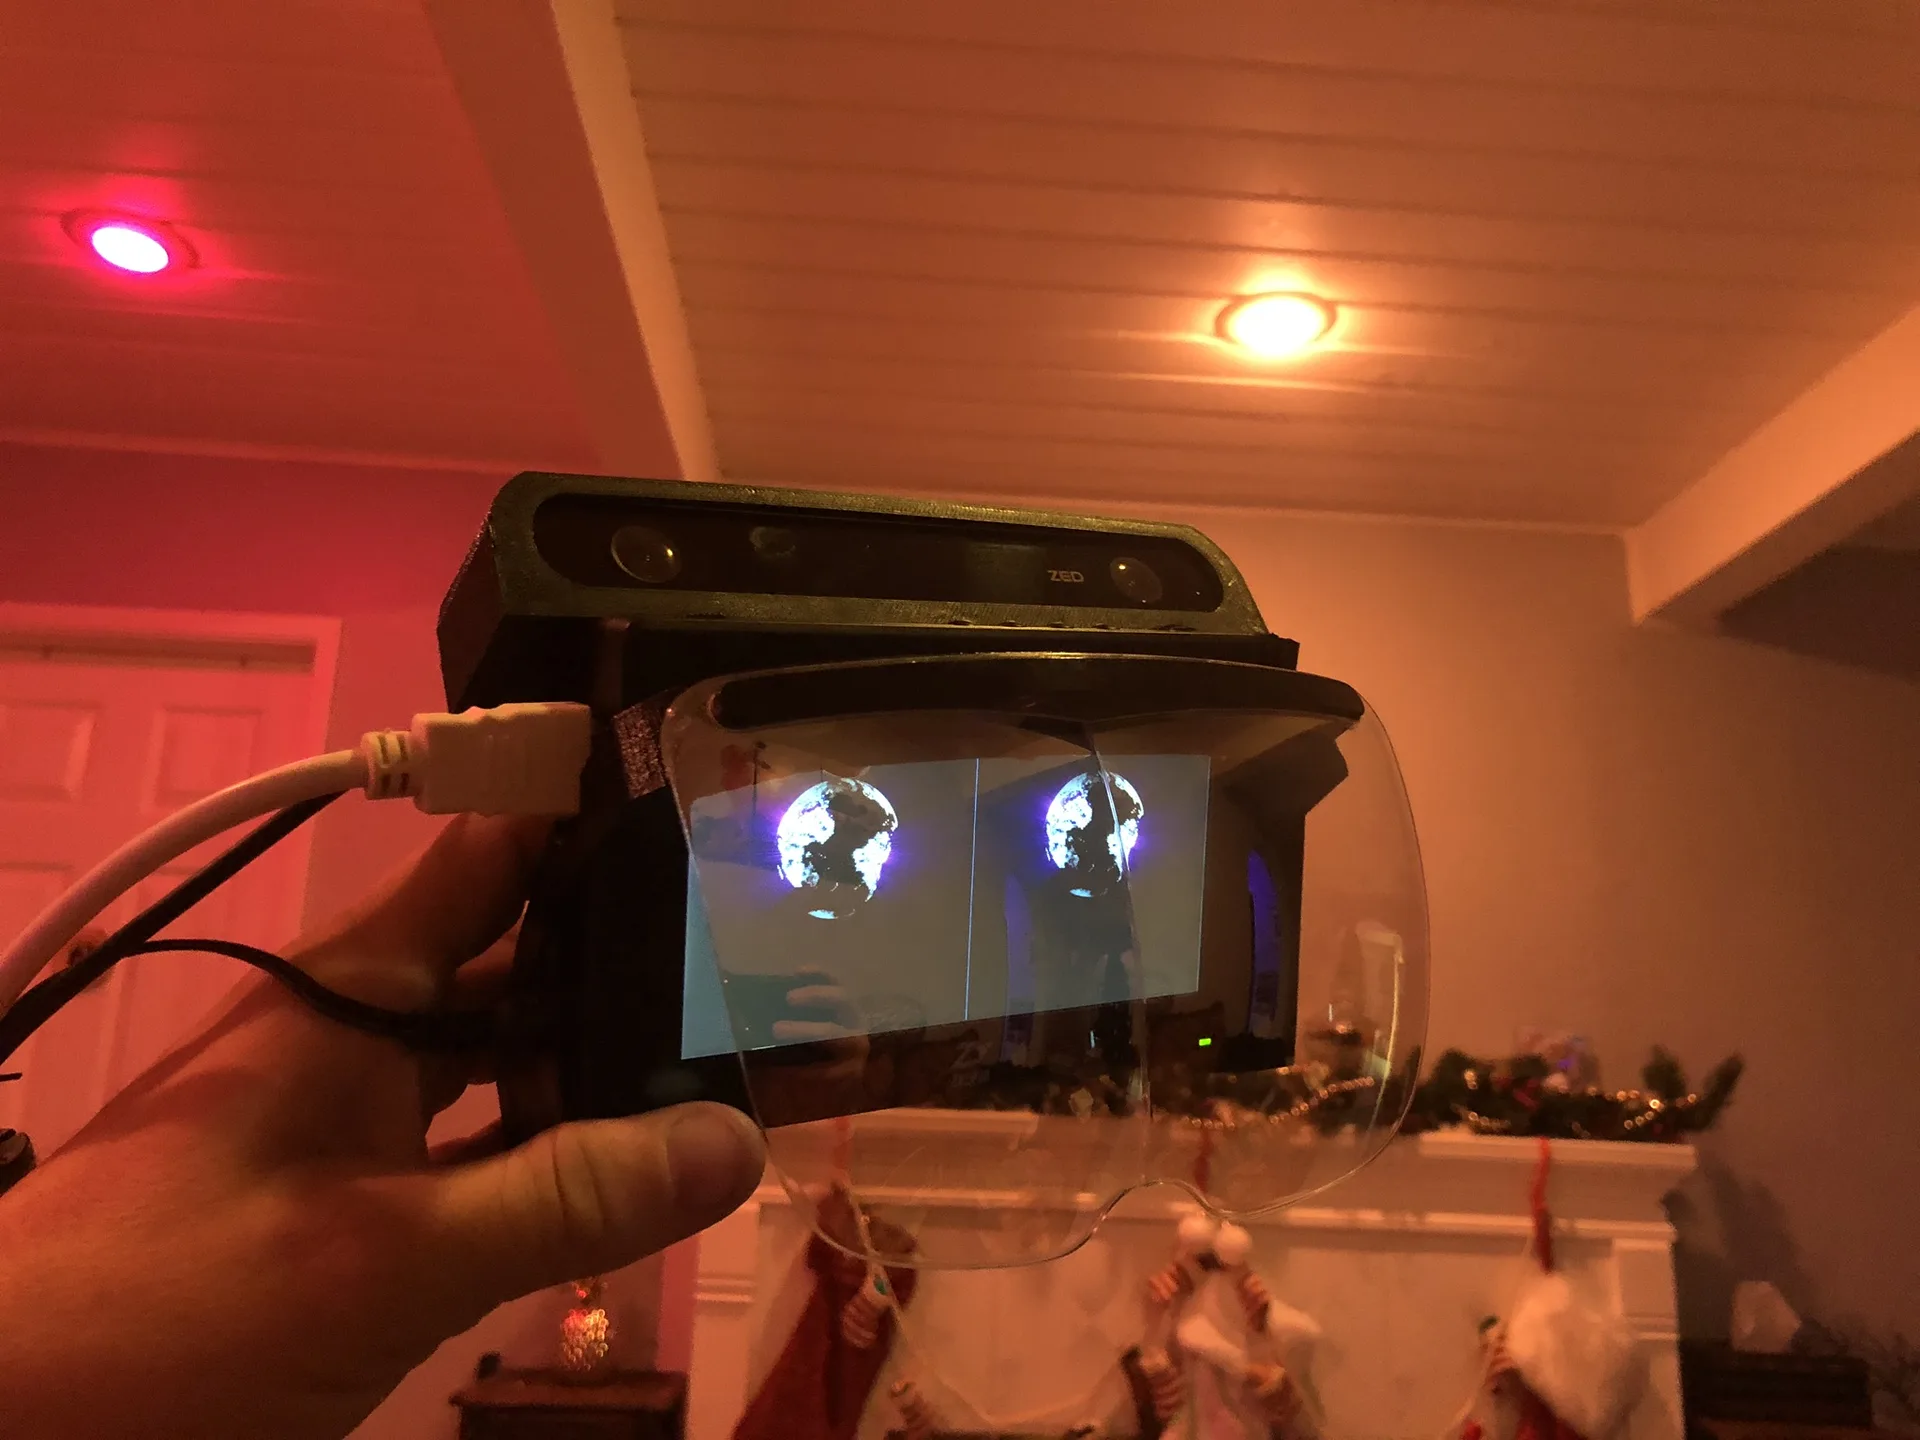
Every HoloFlect build uses the same basic optical layout. The display sits above the eyes, facing down, and a curved, partly reflective visor in front of the face bounces its image back toward the wearer while letting the room show through. The Molecules design calls the whole assembly the Optical Bracket. It's a common mount and cabling path, so the display, the visor and the field of view can all change without redesigning the rest of the headset.
The visor
The visor is one curved shell with a lobe for each eye. Its shape came from hand-drawn profiles and was refined in CAD. A curved reflector bends the image, so we made calibration images, with a panel and a grid for each eye, to see how the curve distorted them, and a resolution chart to check what detail survived.
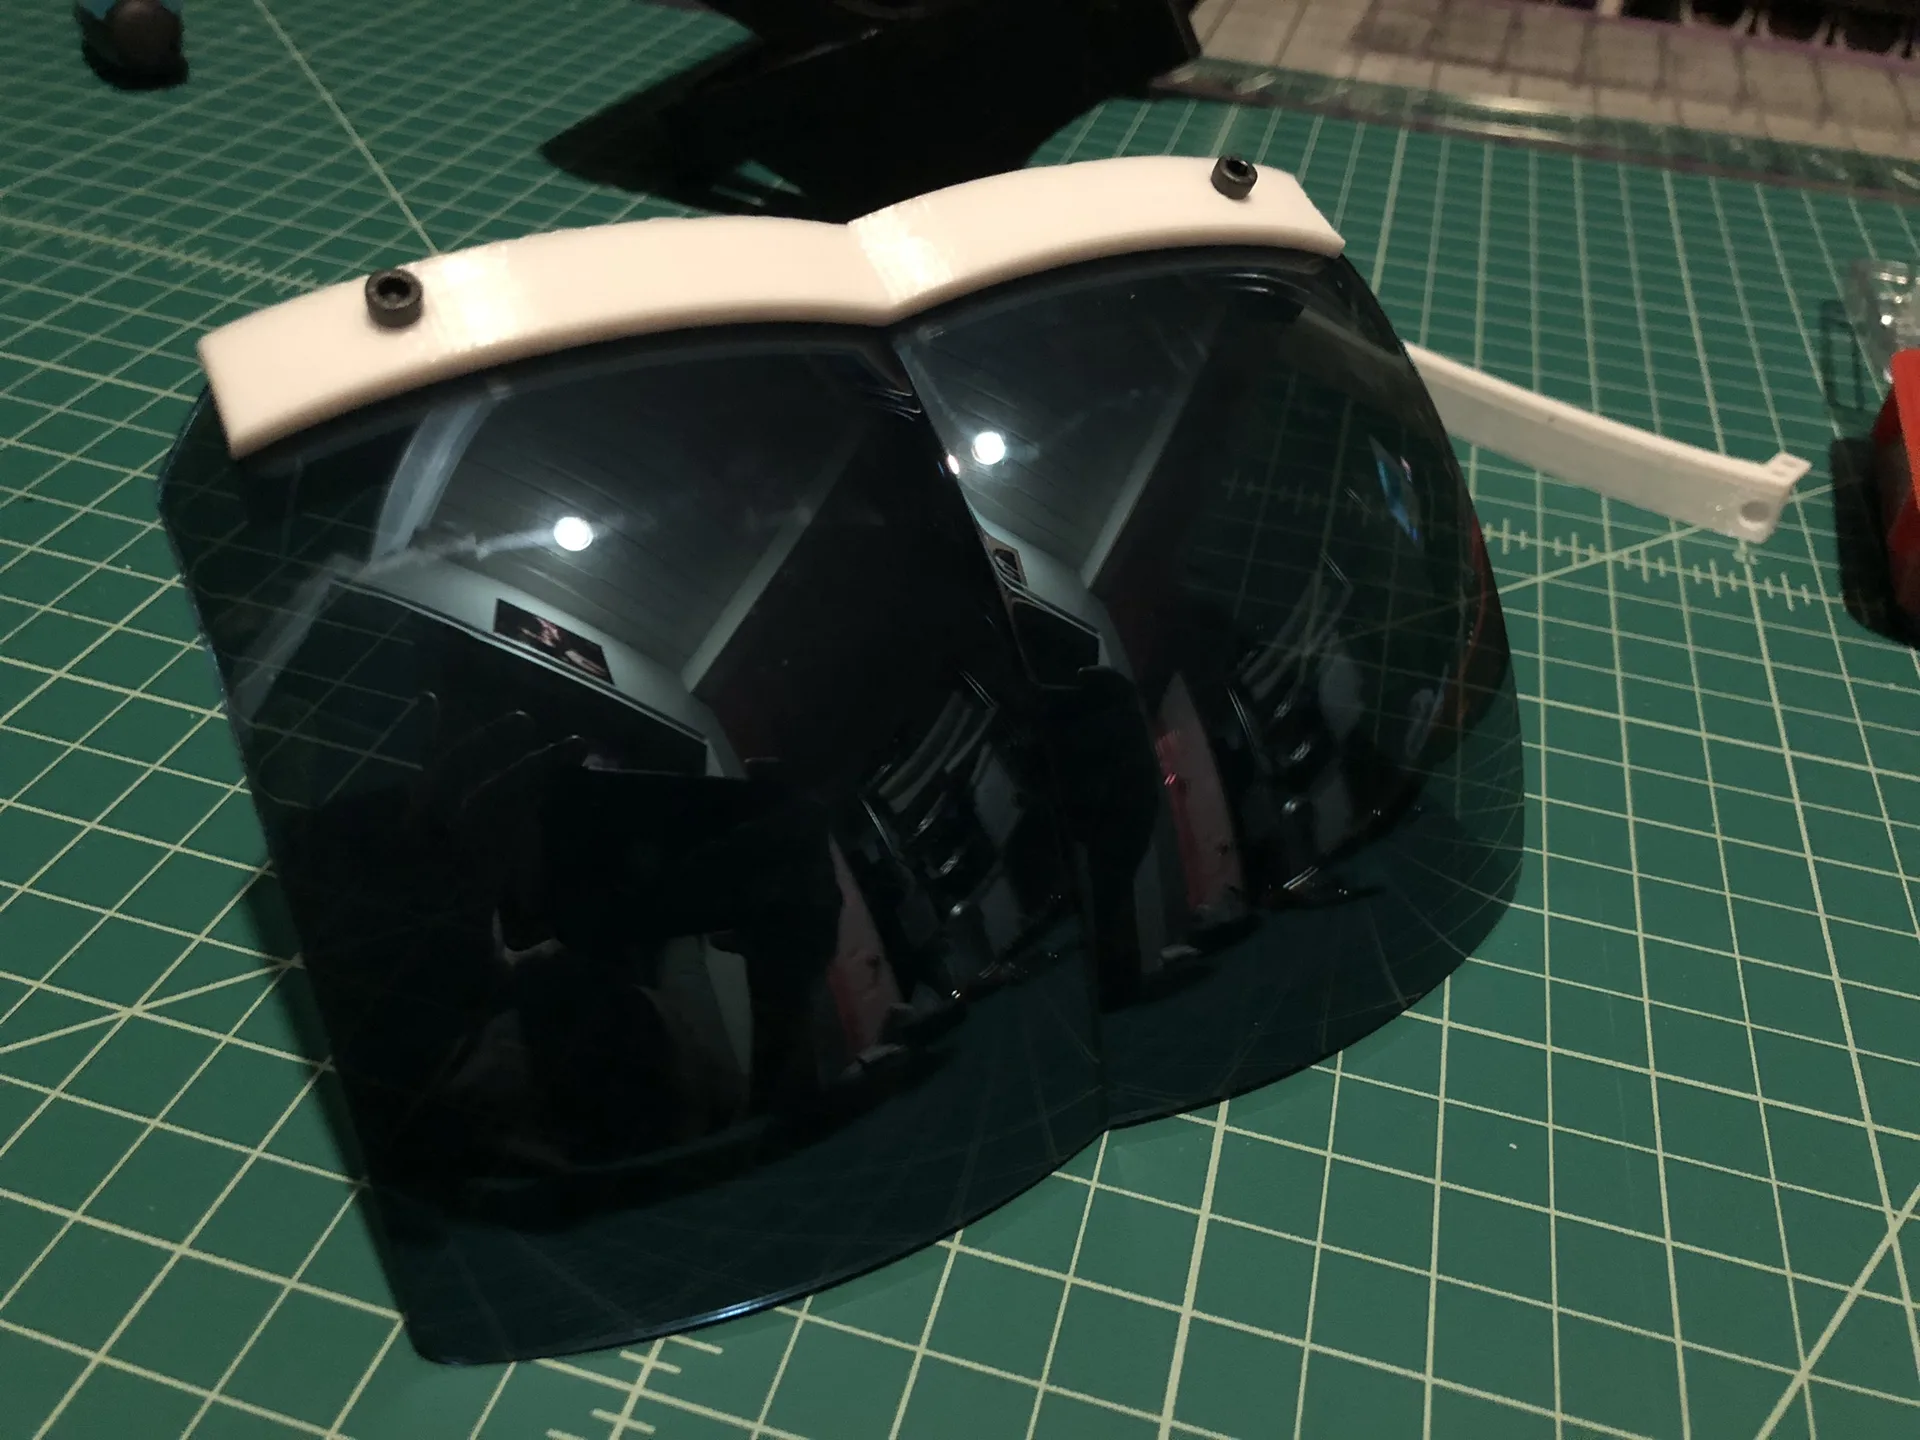
We tried a range of visor treatments. A mostly clear visor keeps eye contact, which matters when the wearer is working with other people. A heavily tinted visor makes the display much more vivid, at the cost of seeing the wearer's eyes. Mirrored coatings sit between the two. The visor attaches to its bracket magnetically, so one treatment can be swapped for another, and in the finished parts the magnets are sealed inside the visor components.
Panels and resolution
The first builds used a 5.5-inch full HD (1080p) panel. Once the modular build was proven, we moved to a 5.5-inch 2560×1440 panel. Split between two eyes, that gives 1280×1440 per eye, about twice the per-eye resolution of the first-generation HoloLens and Magic Leap headsets. The cheapest configuration kept the 1080p panel.
Both panels are driven over HDMI through a small HDMI-to-MIPI driver board. Fitting the panel, the board and the ribbon cable between them into a small space took its own design pass. We measured each board, worked out where the cable had to fold, and printed a cradle and baseplate that hold the panel and board together as one module. That module is what the Optical Bracket carries, and swapping it is how a HoloFlect gets a new display.

Printed lenses
Alongside the visor, we ran a series of experiments printing small lenses in clear resin. Straight off the printer, the lenses are optically clear. They're rinsed in isopropyl alcohol to remove uncured resin, then post-cured under UV light. Curing leaves them slightly cloudy, but they can be polished back to clarity, and we also tried restoring the surface with thin clear coats. We printed lenses with flat mounting tabs and in ring-shaped mounts, and the finished lenses magnified printed text the way a ground lens would.
The same resin printer also produced clear visor shells, so a new curve could go from CAD to a part we could look through without leaving the shop.
Gallery

A visor with a reflective coating. 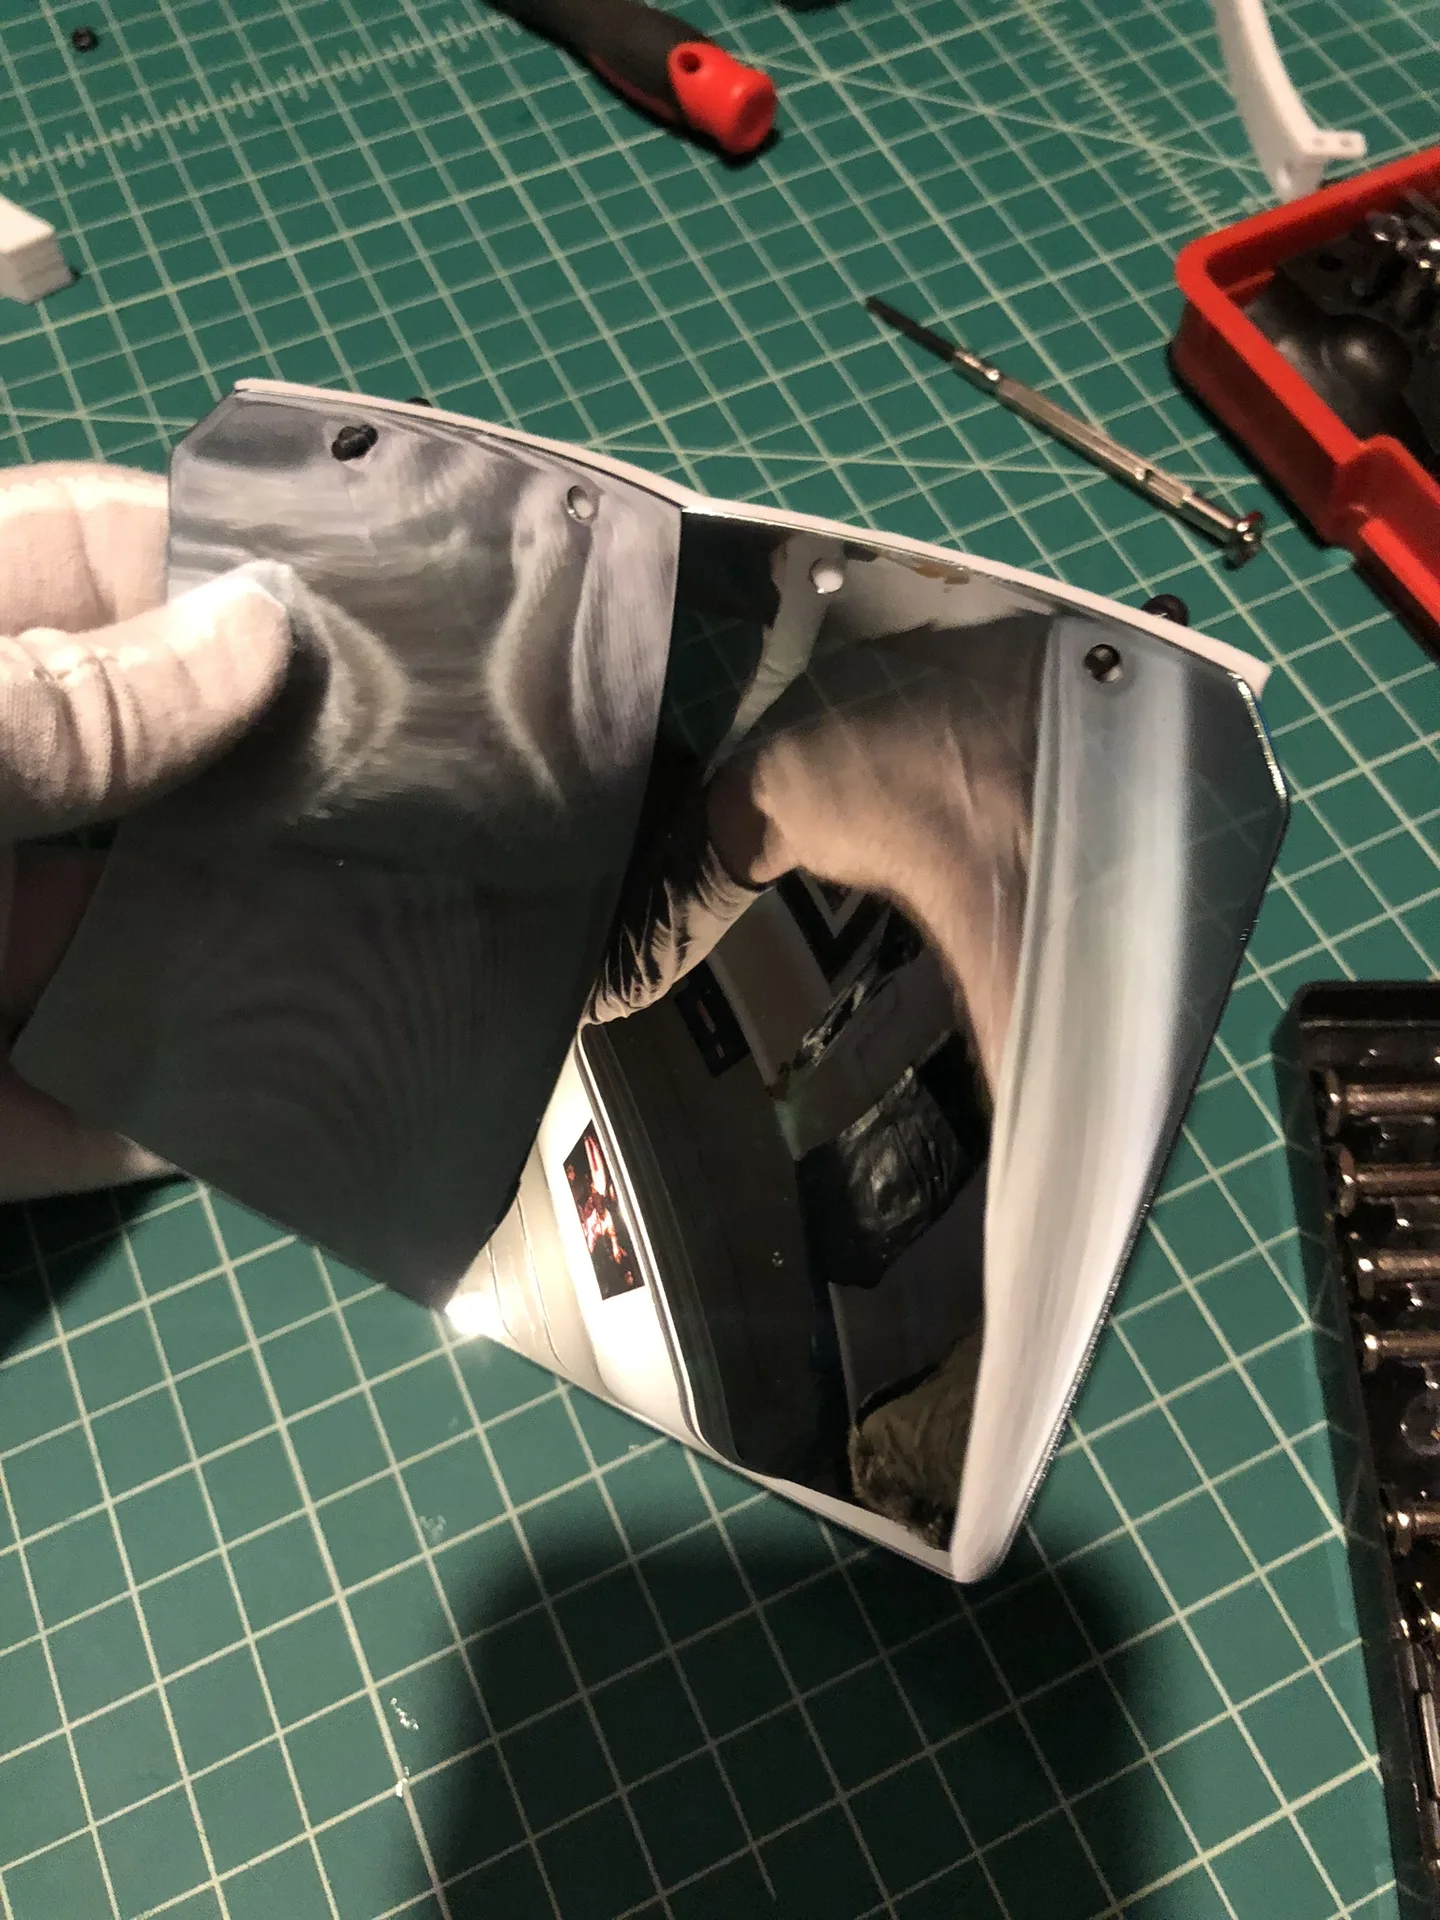
A heavily mirrored visor treatment. A mirrored visor and the display frame it pairs with. A heavily tinted visor, for vivid images. 
Through the visor: rendered content over the real room. 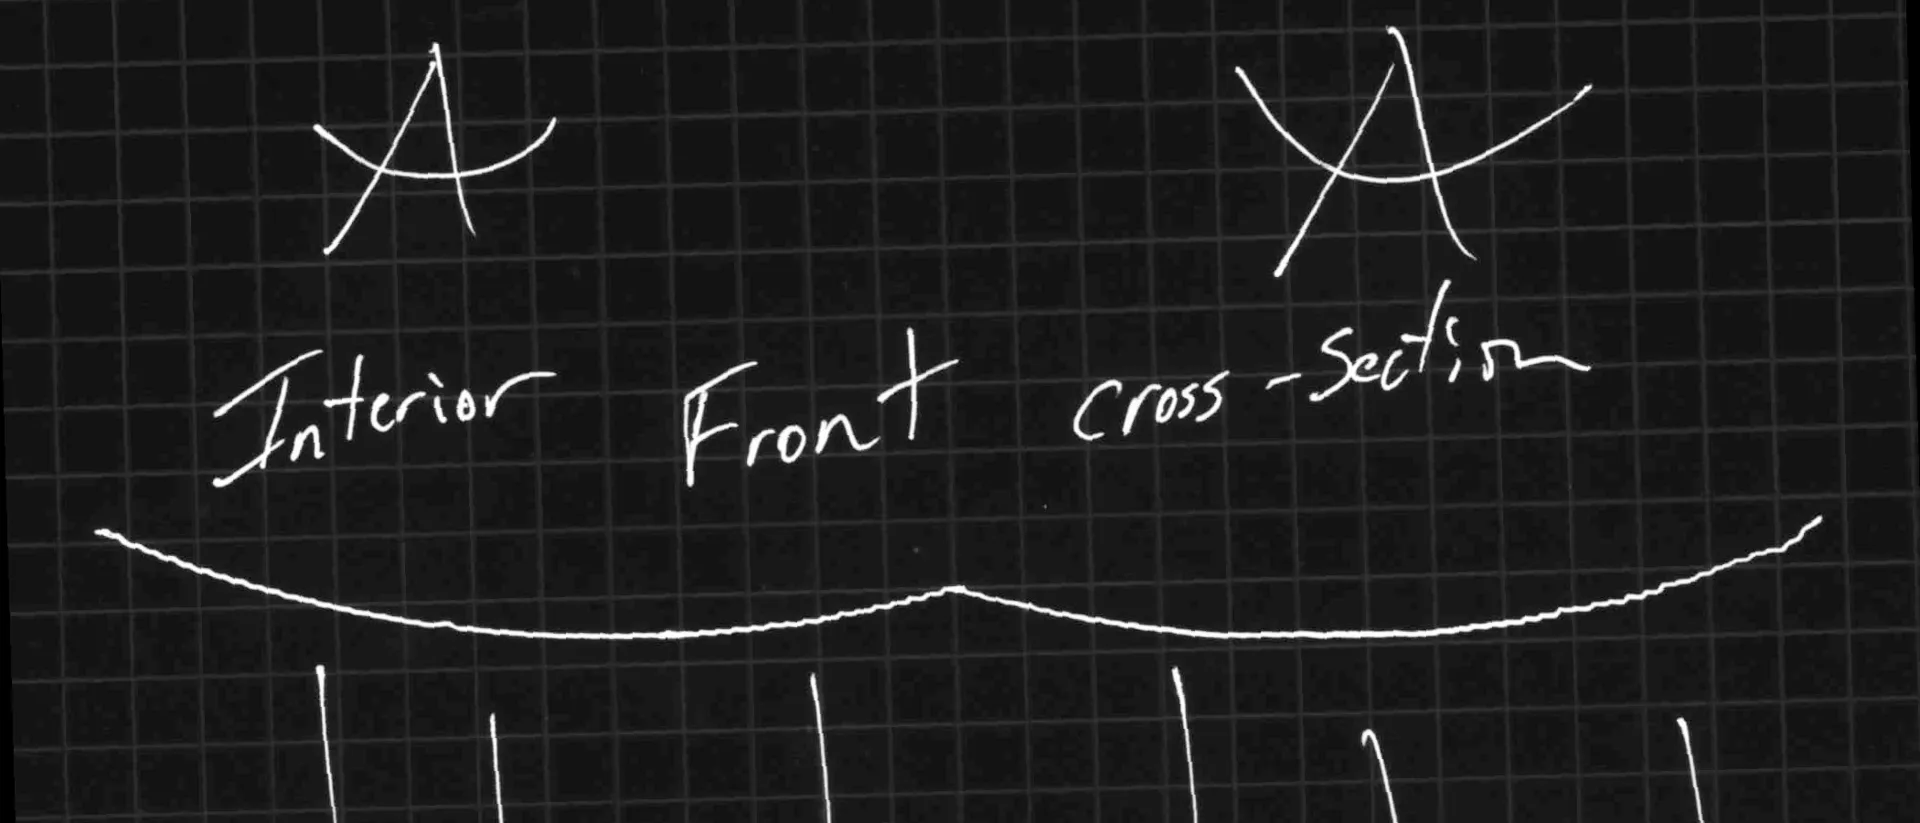
Sketching the visor's curve. 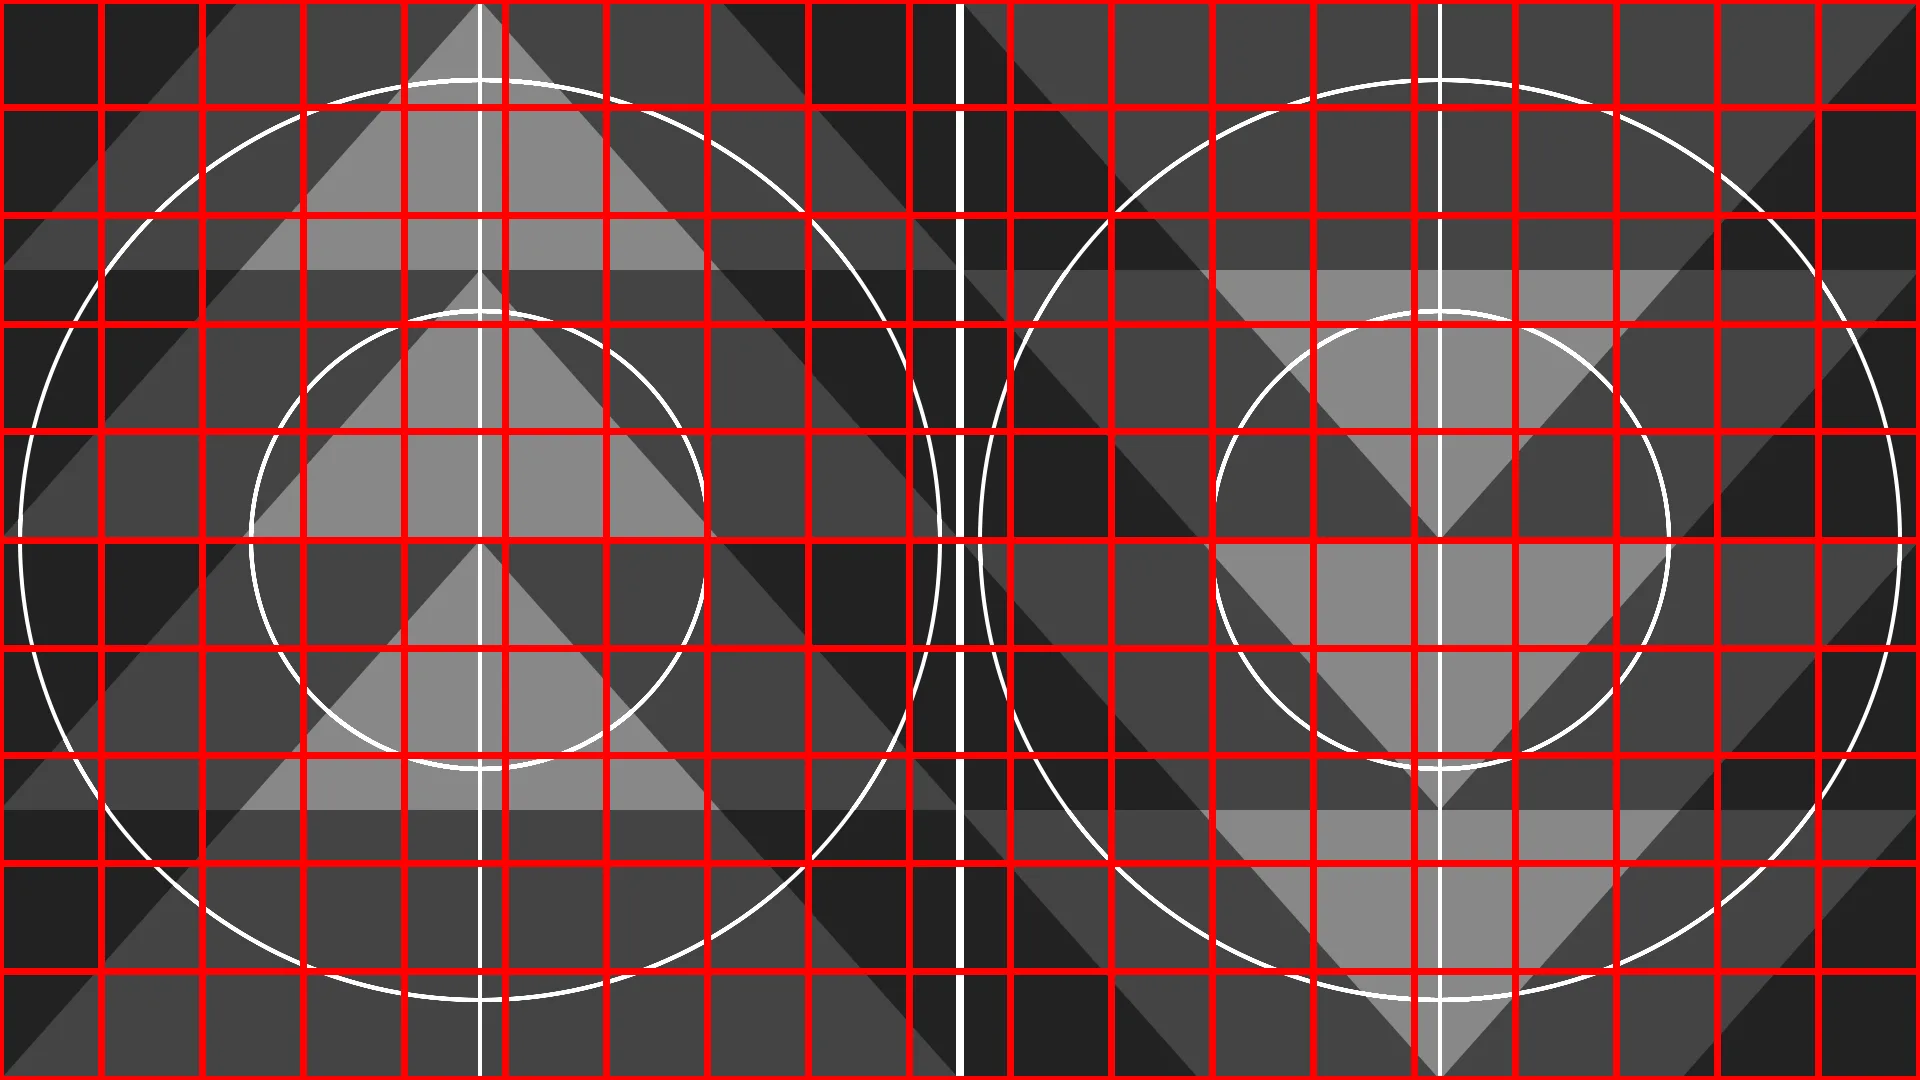
A dual-lens calibration image, with a grid for measuring distortion. 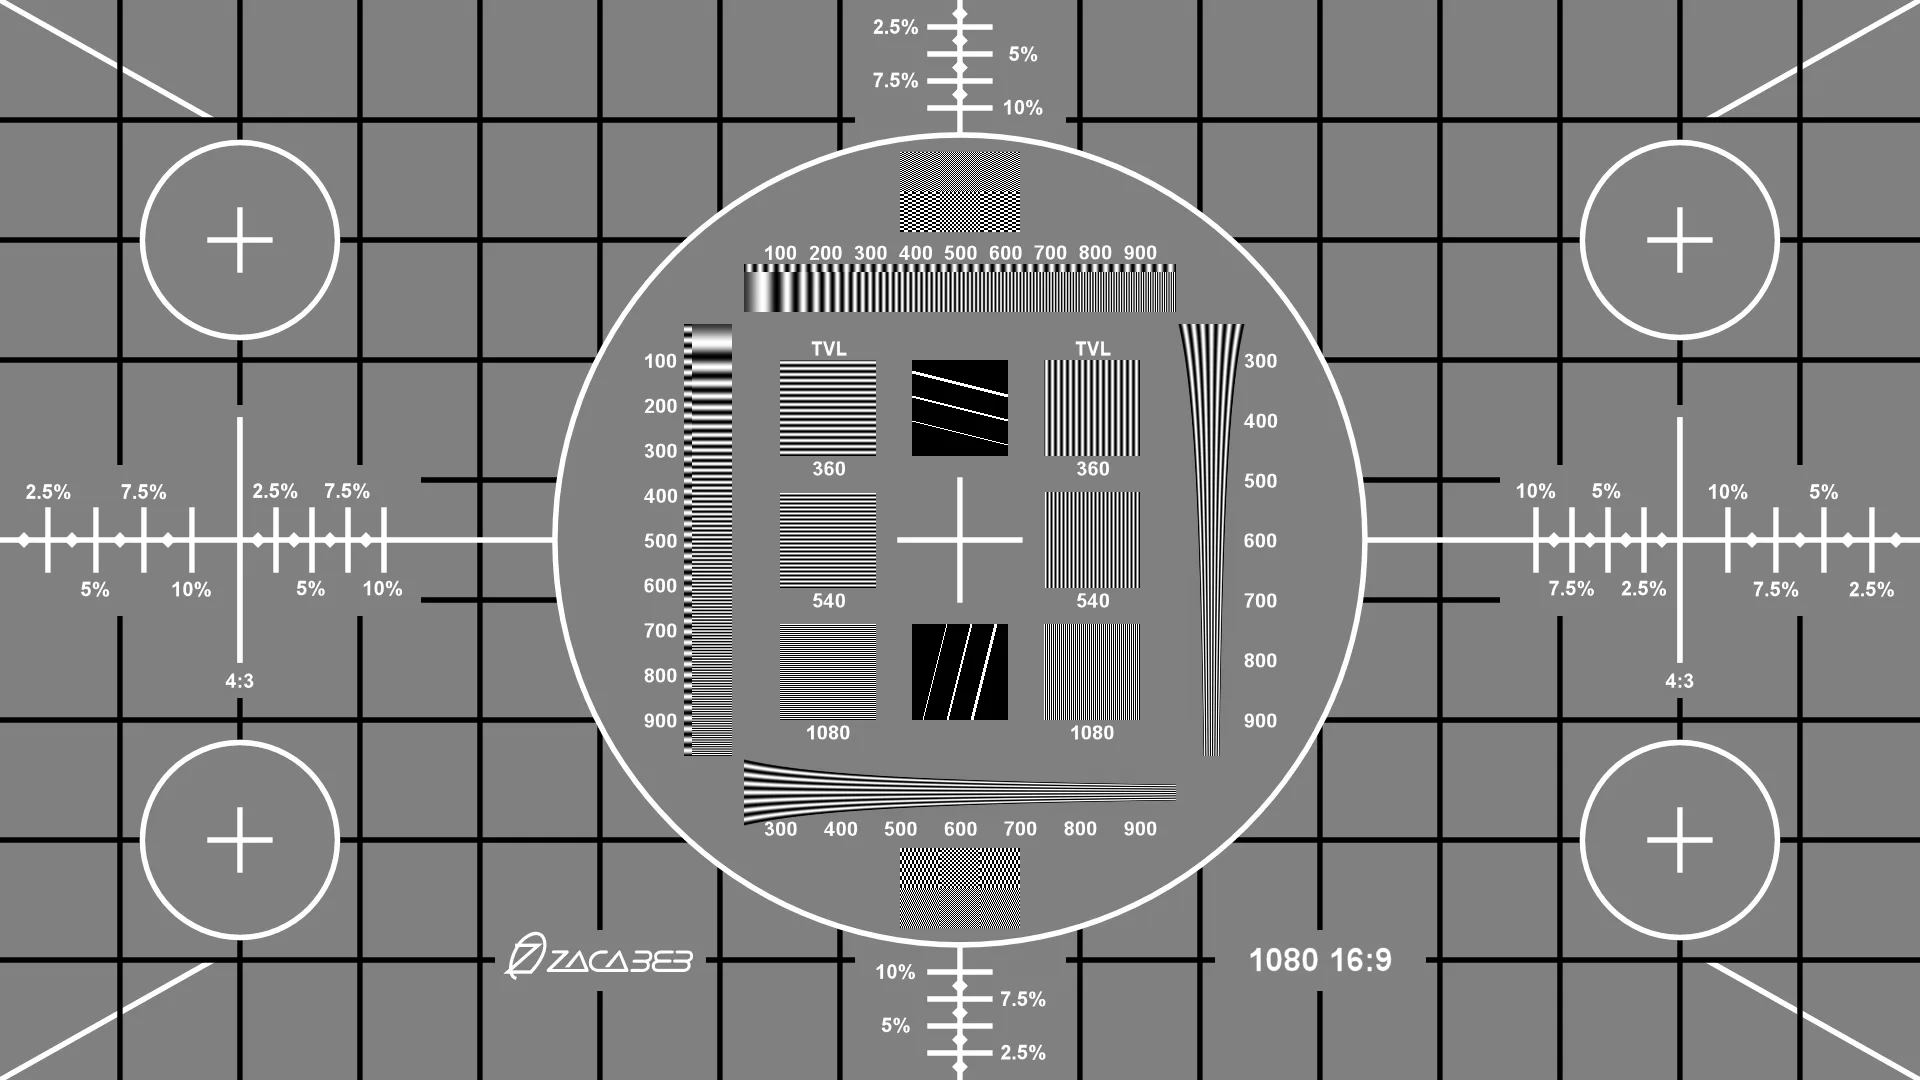
A resolution test chart for checking the displays. 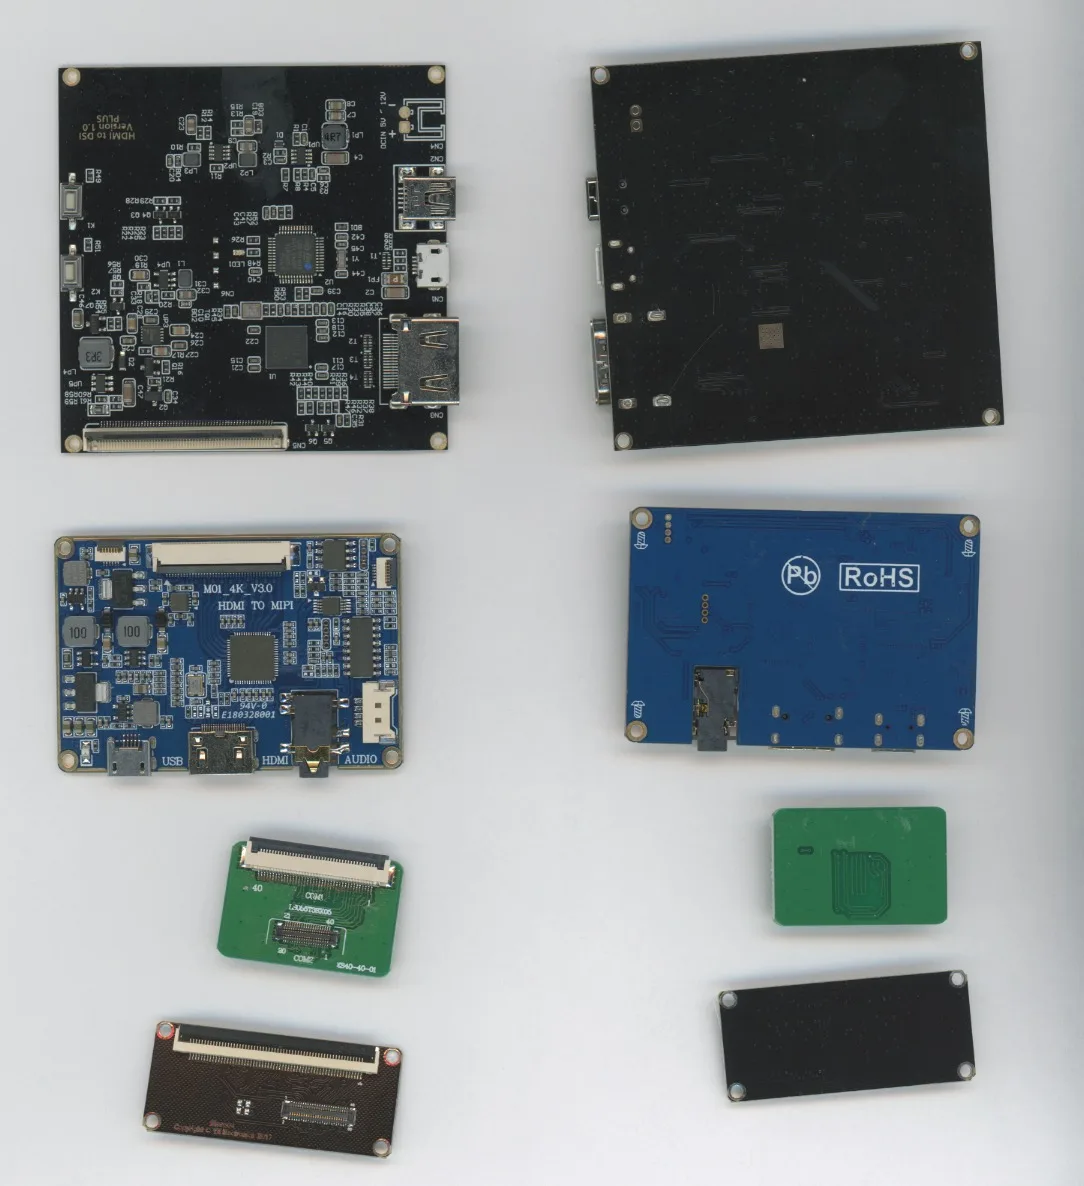
Display panels and the interface boards that drive them. 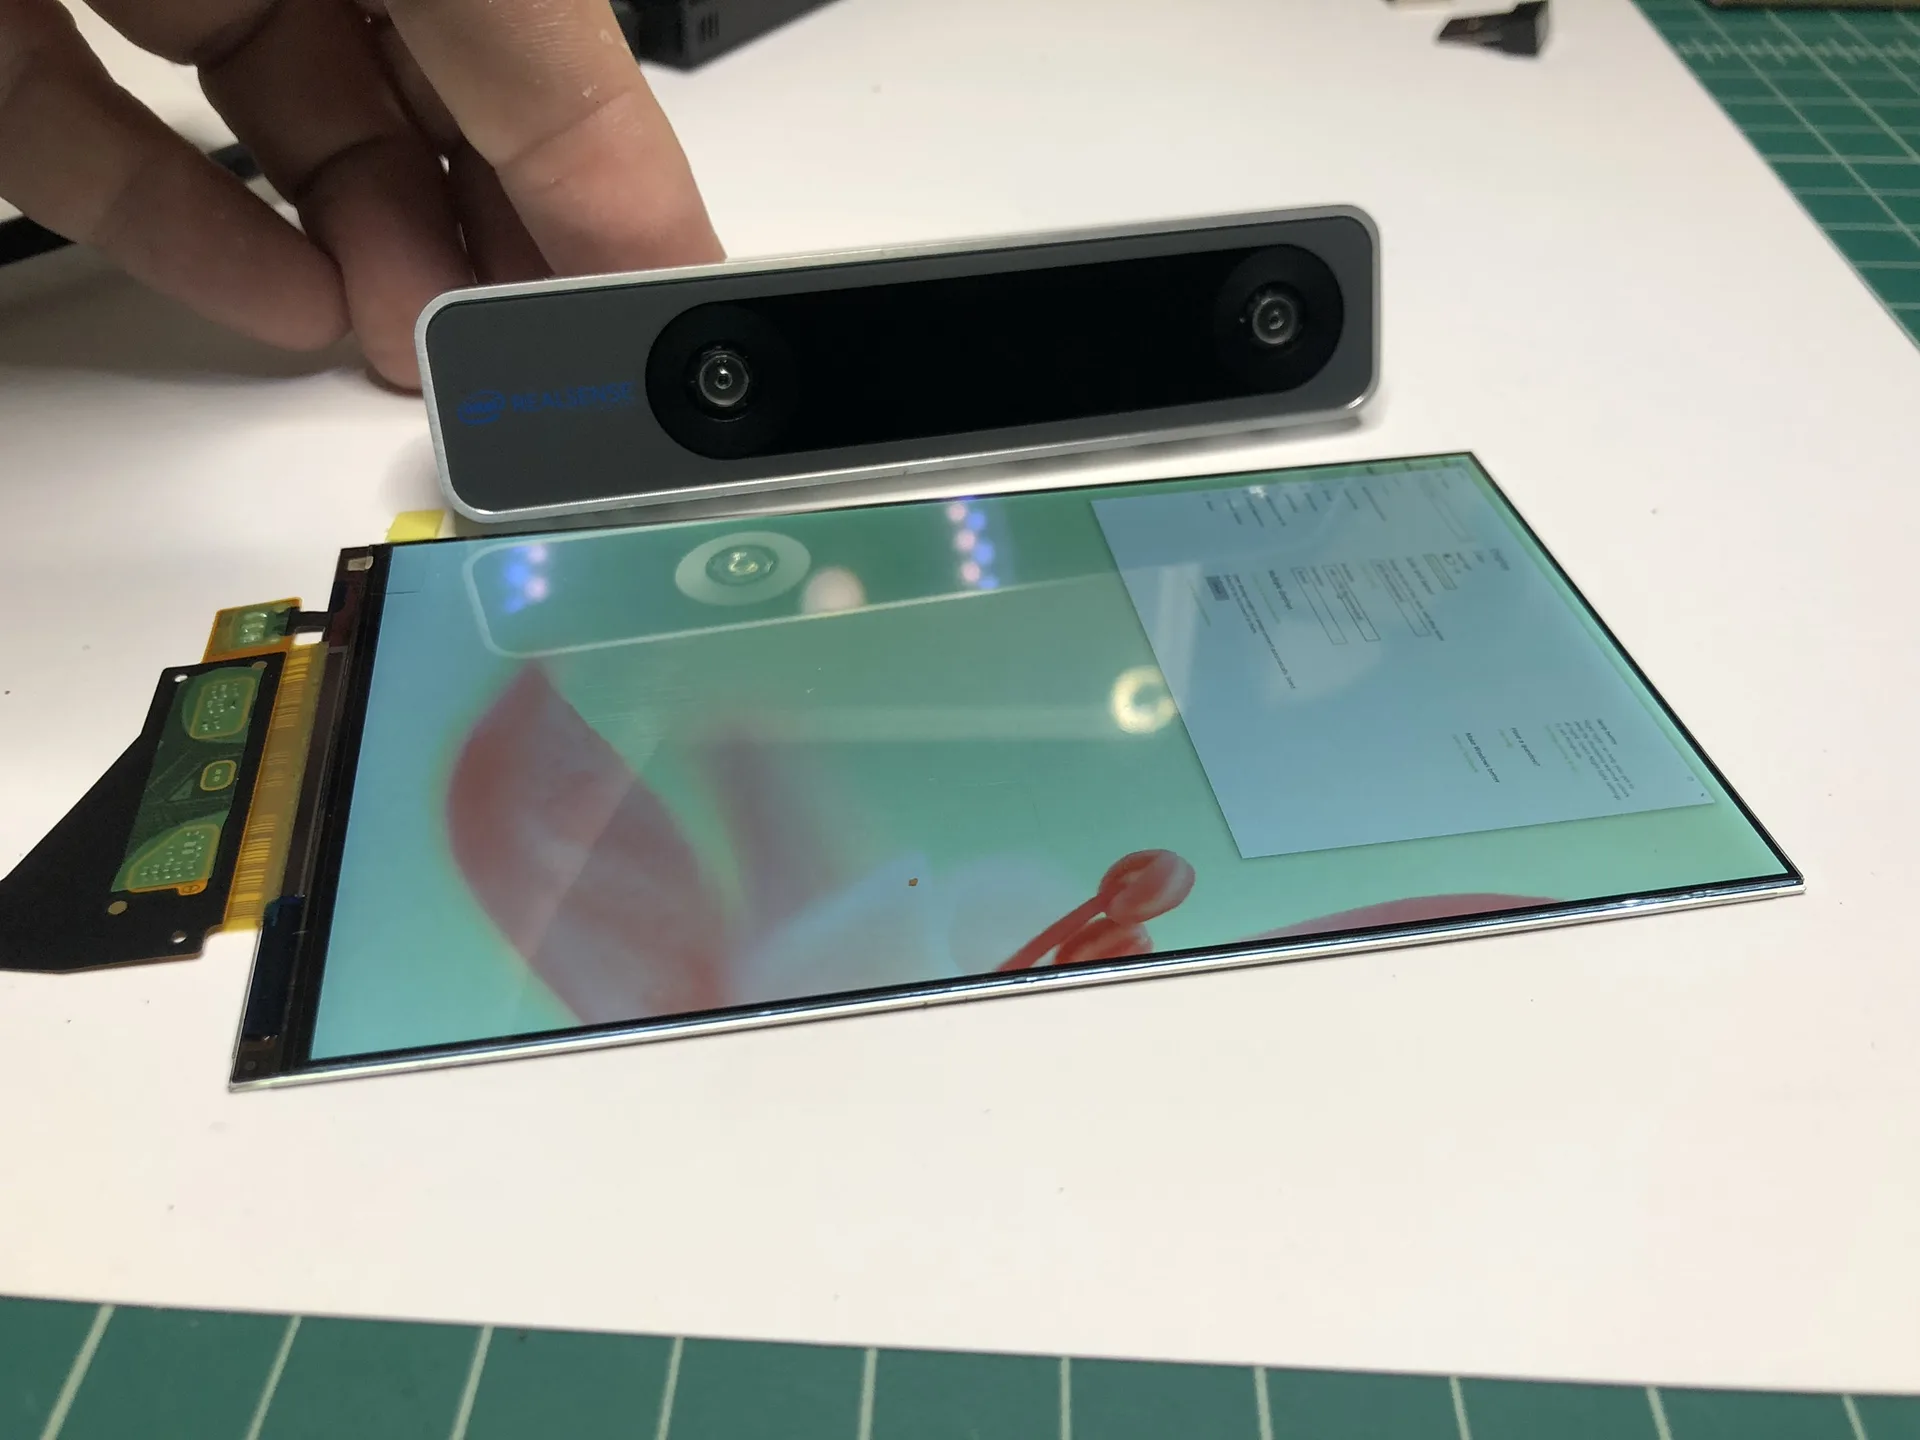
A higher-resolution panel next to the tracking camera it was paired with. The display cradle with its driver board. 
Measuring a driver board for the cradle. 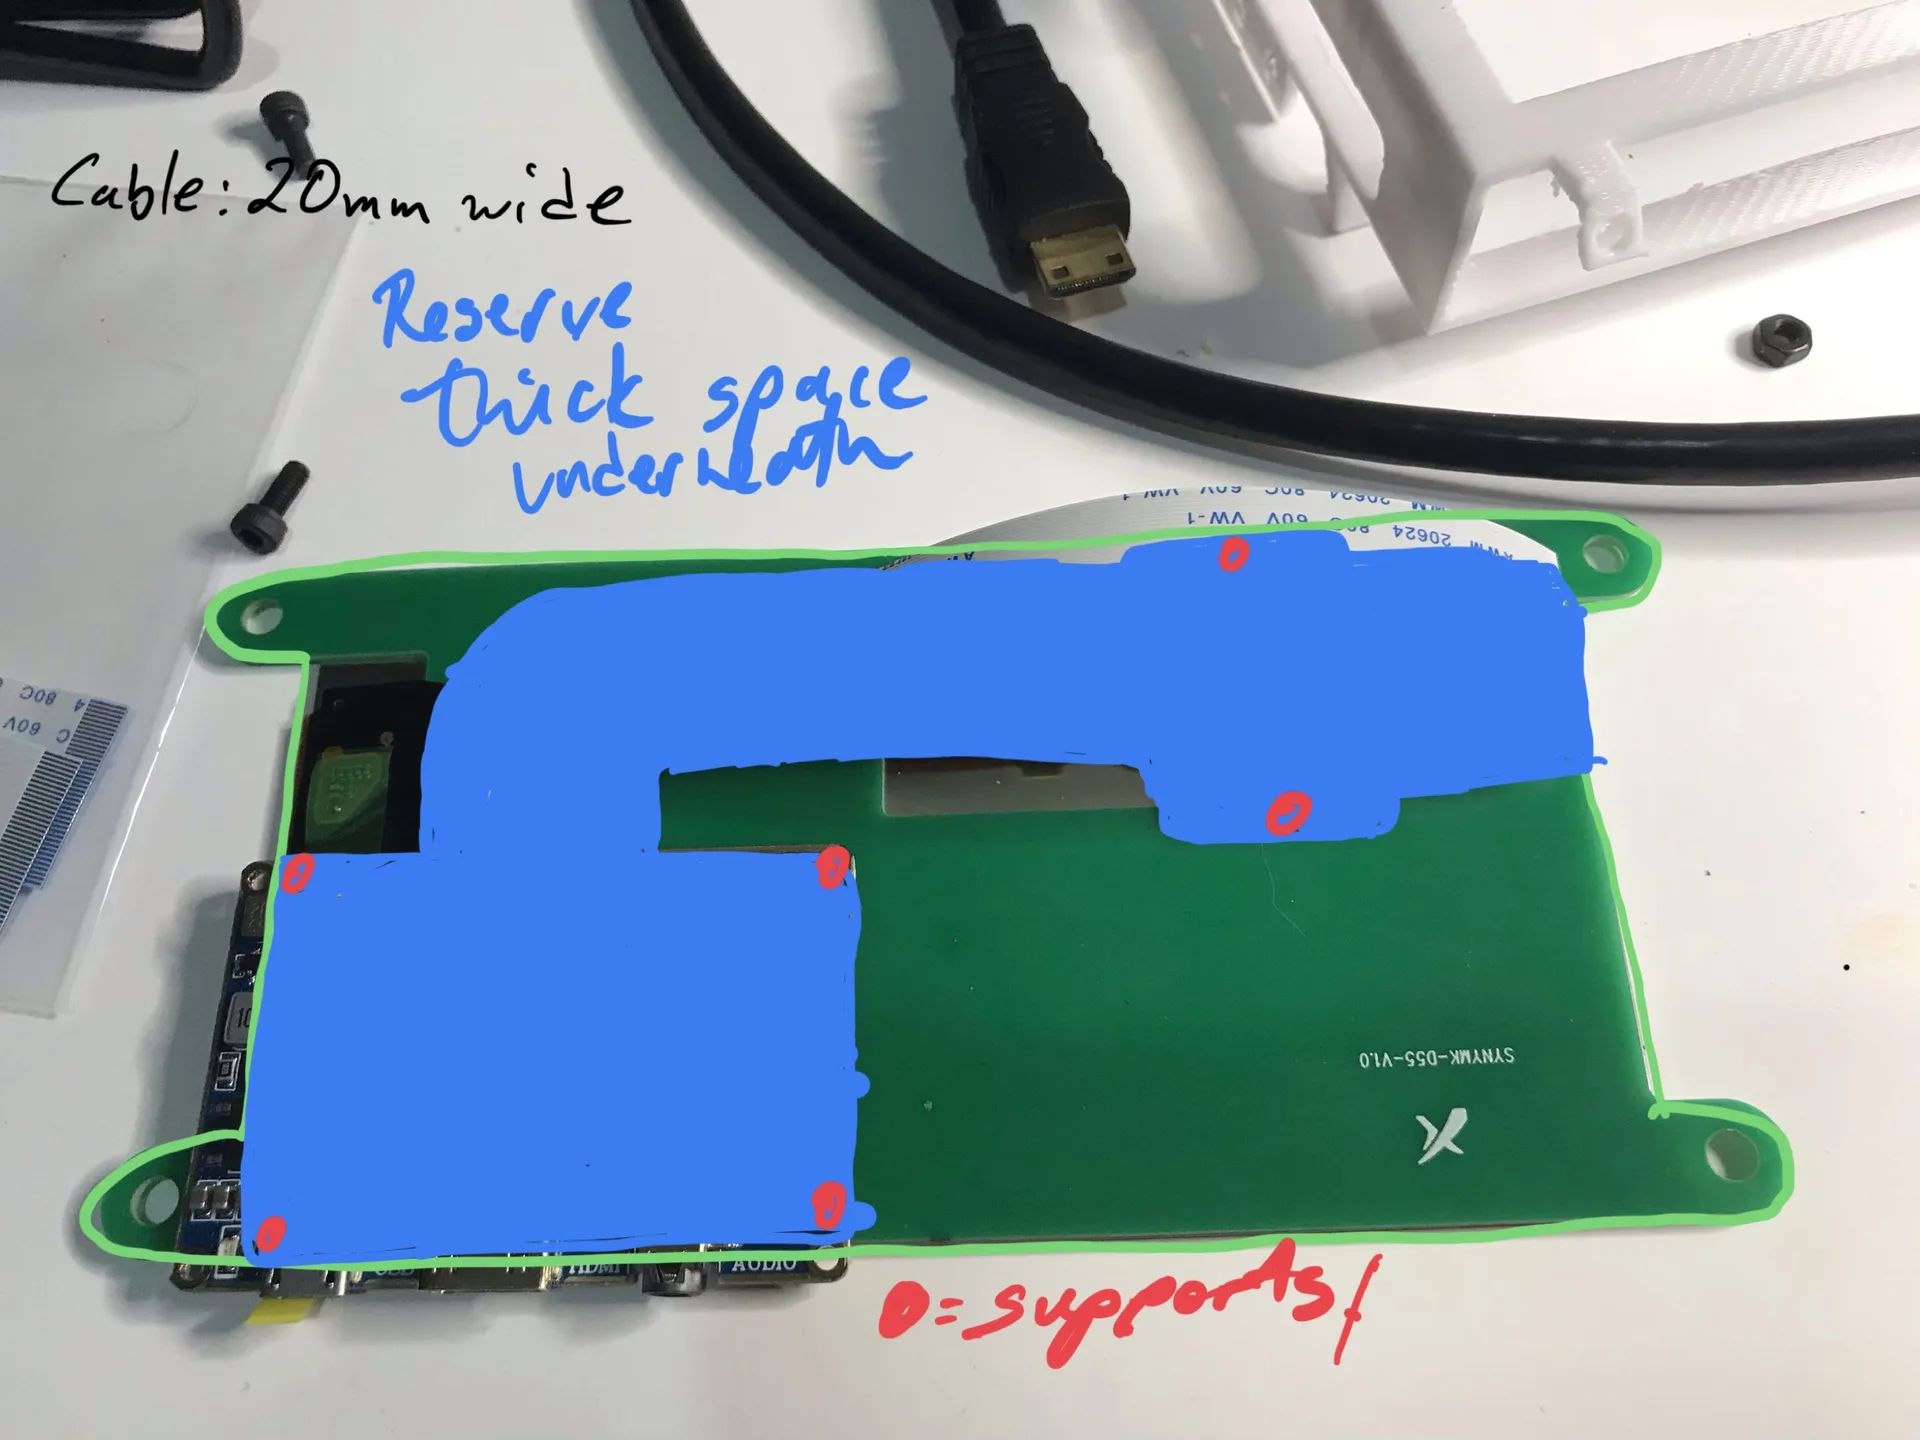
Planning the cradle around the board and its cable. 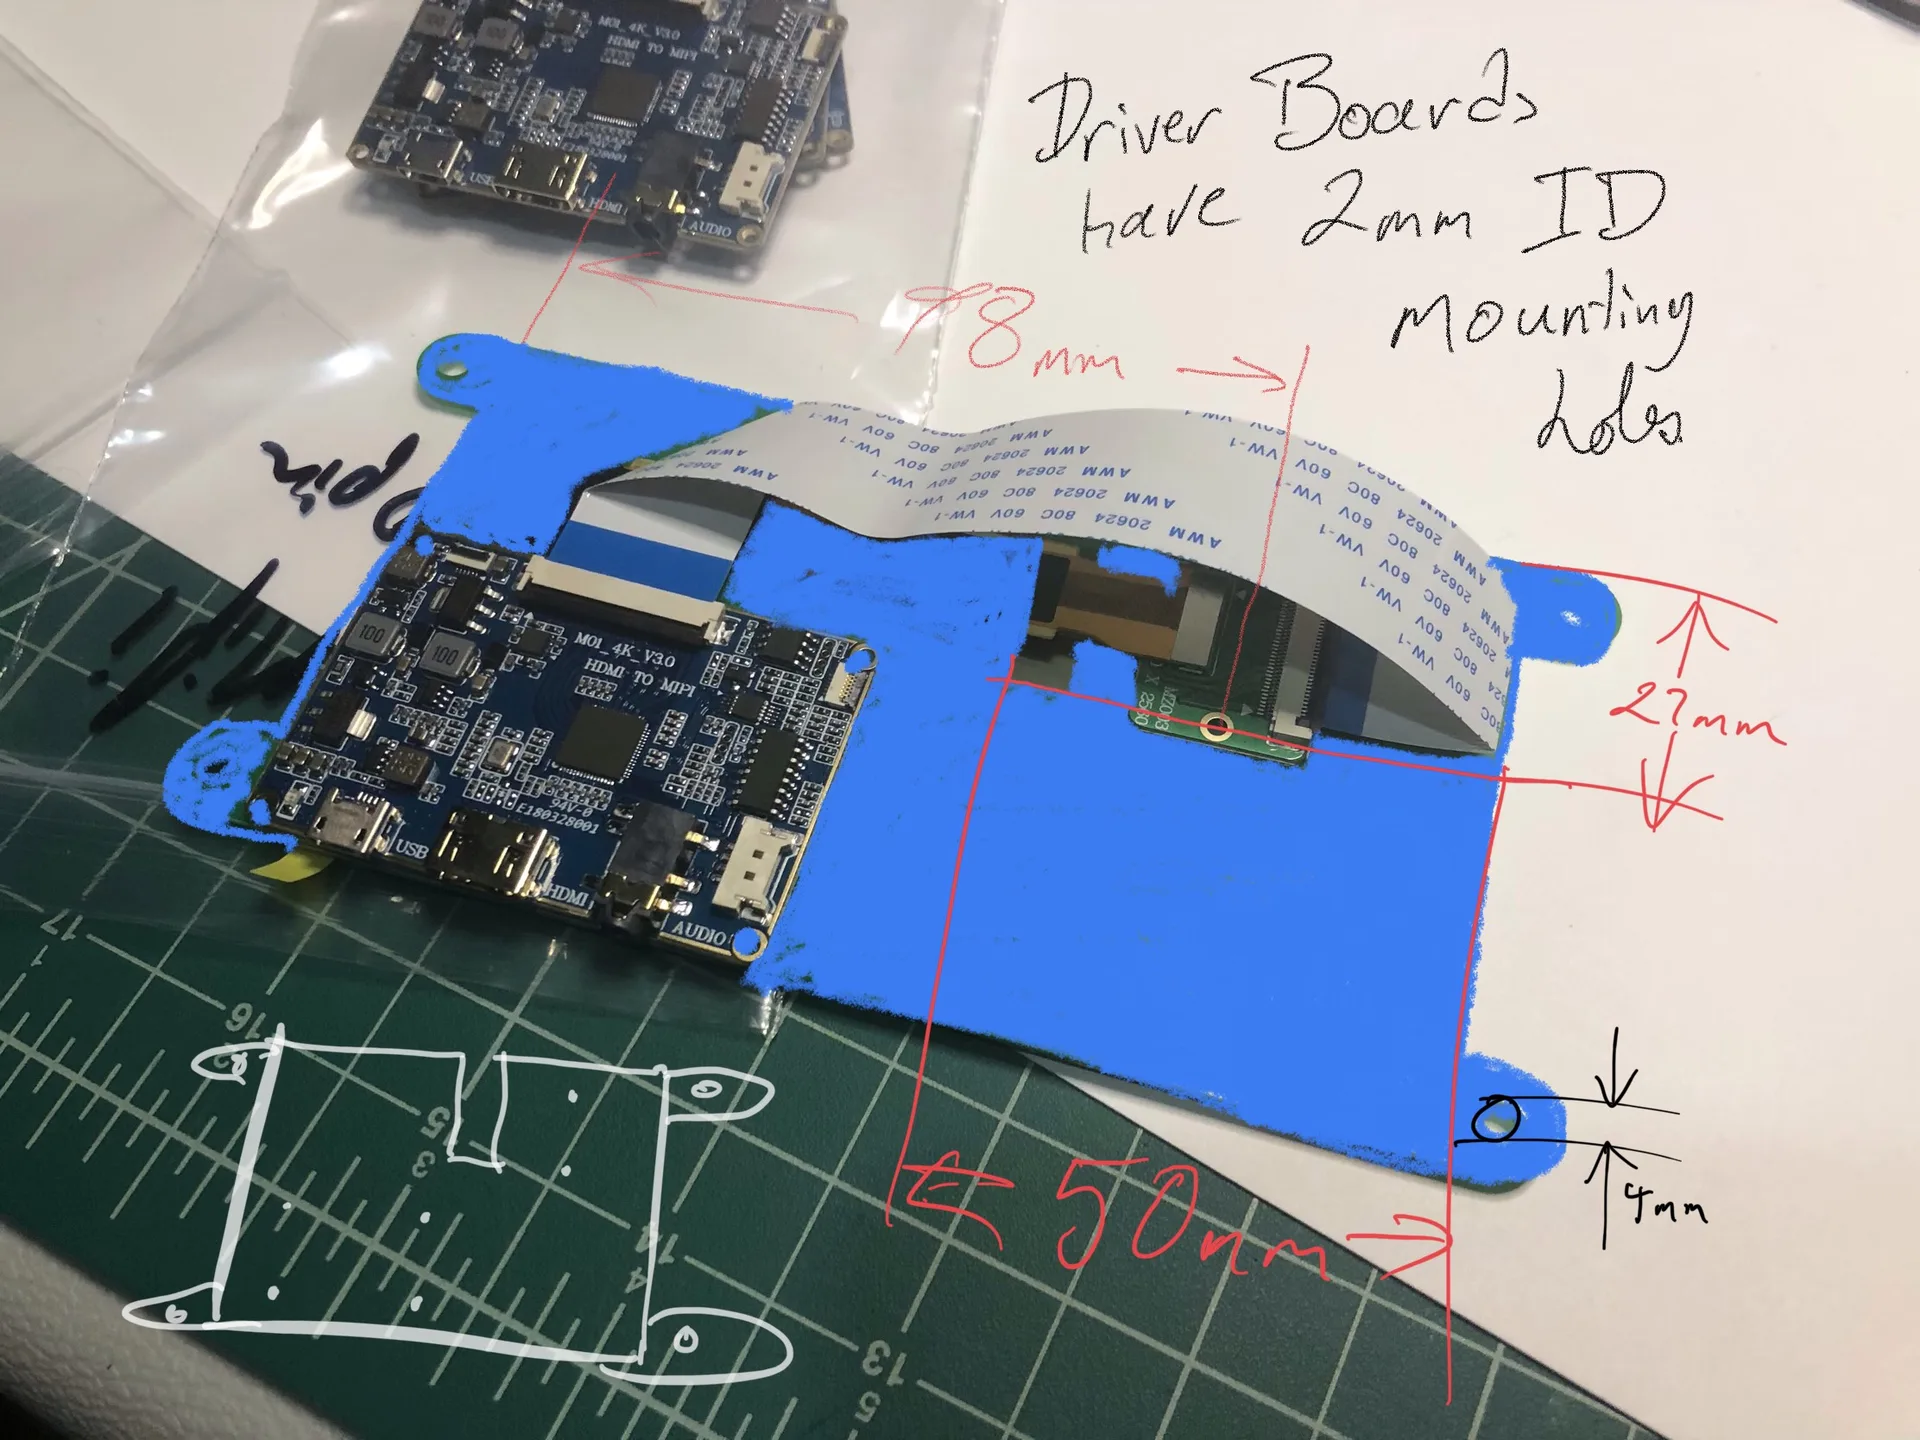
Mounting-hole notes for the driver boards. 
Printing a visor in clear resin. Post-processing printed lenses: rinse, cure, and why they cloud. 
Lens prints on the build plate. 
One printed lens, with its mounting tab. 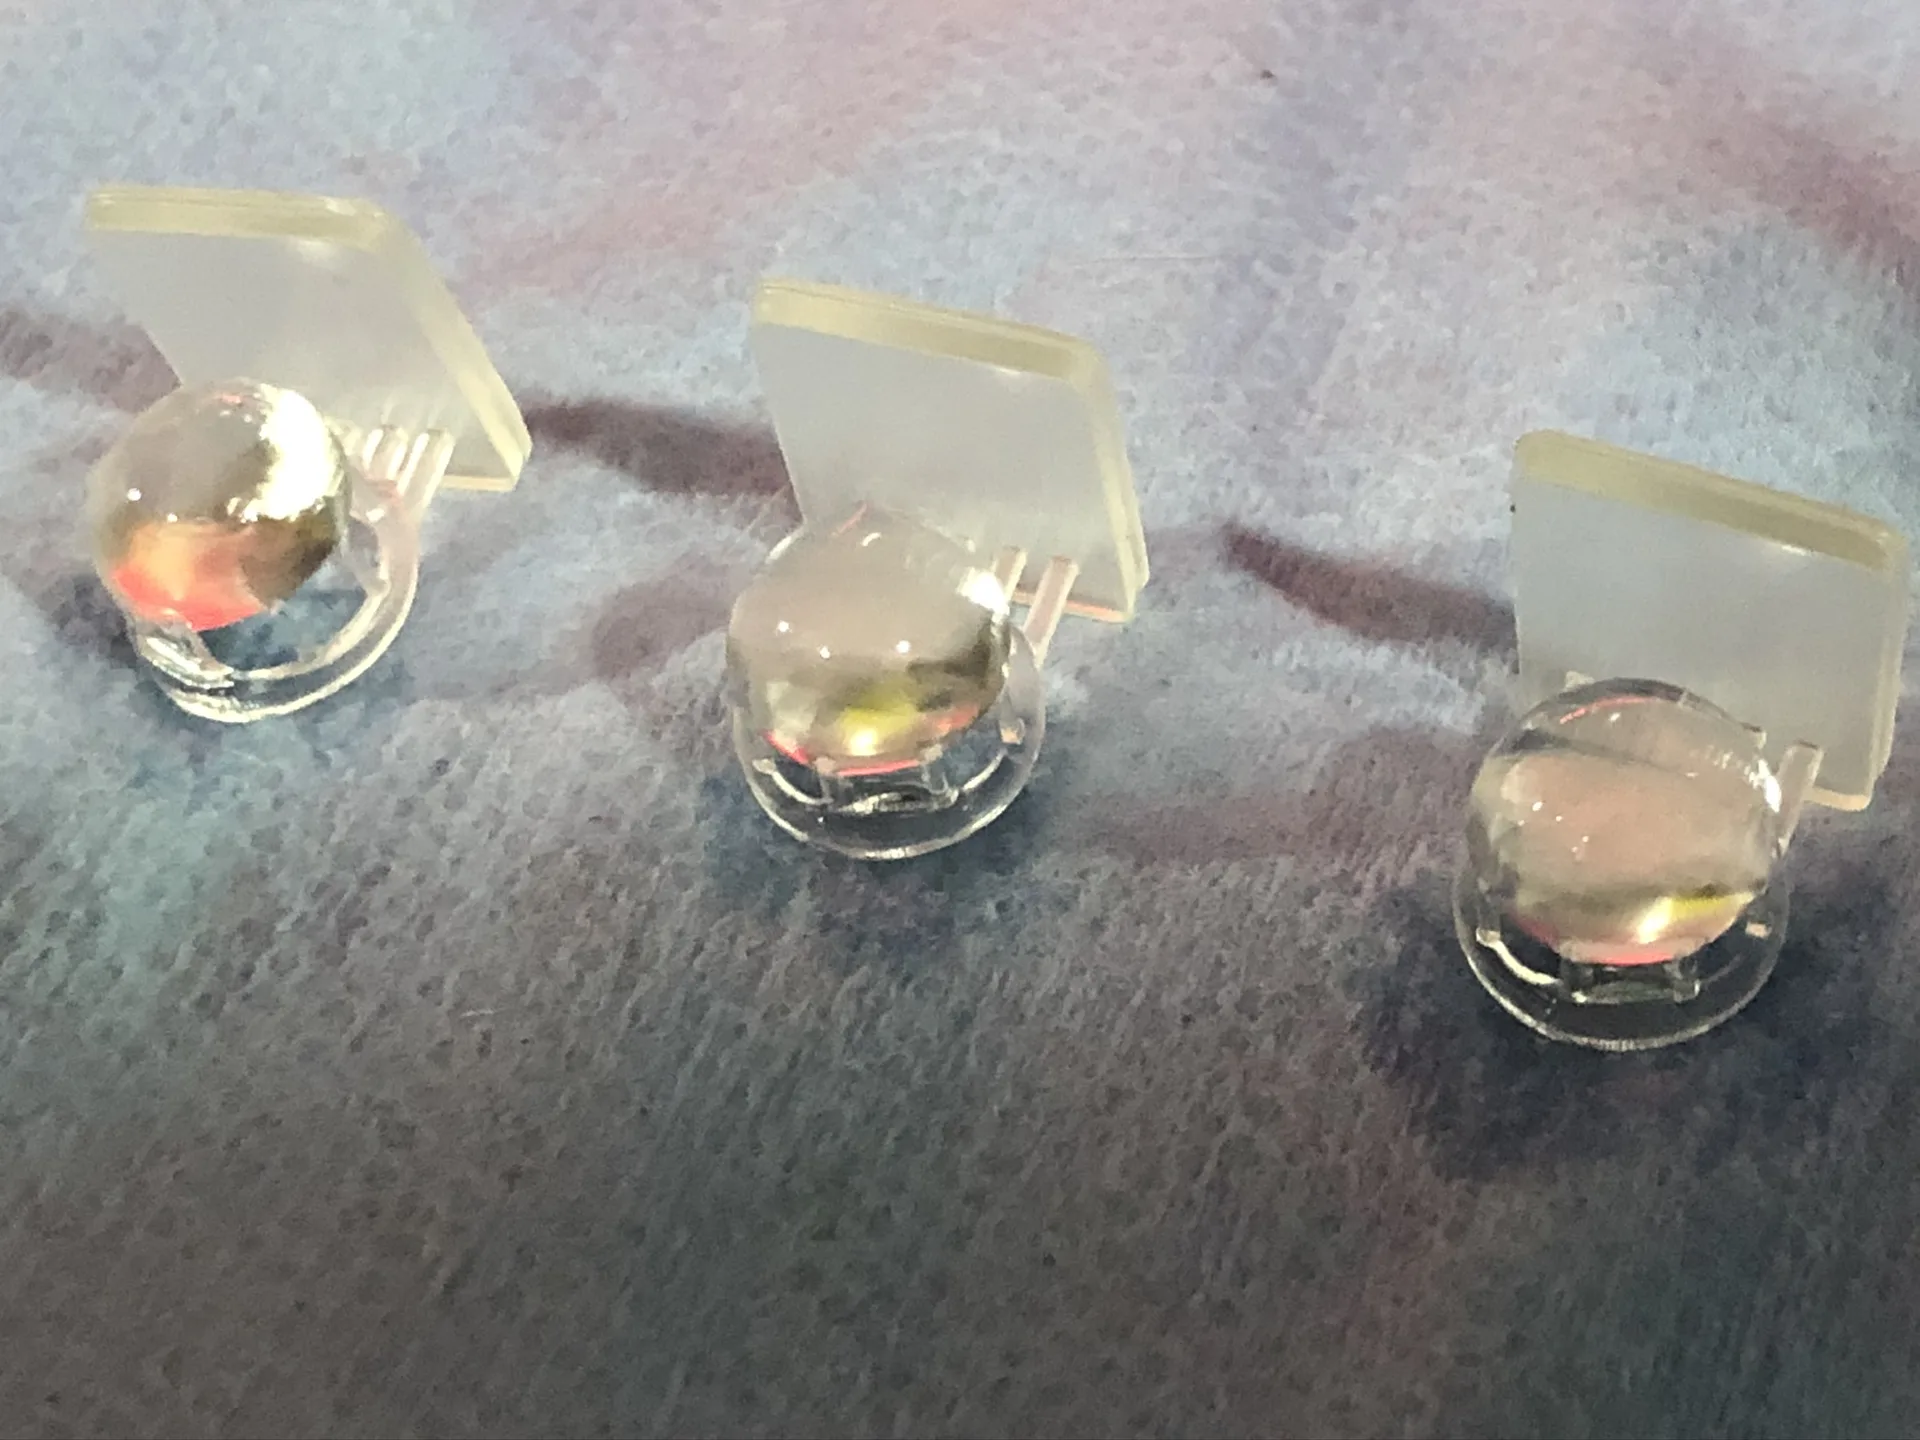
Lenses printed in clear resin. 
Applying a thin finishing coat to a lens. Finishing the lens surfaces by hand. 
A ring-mounted lens design. 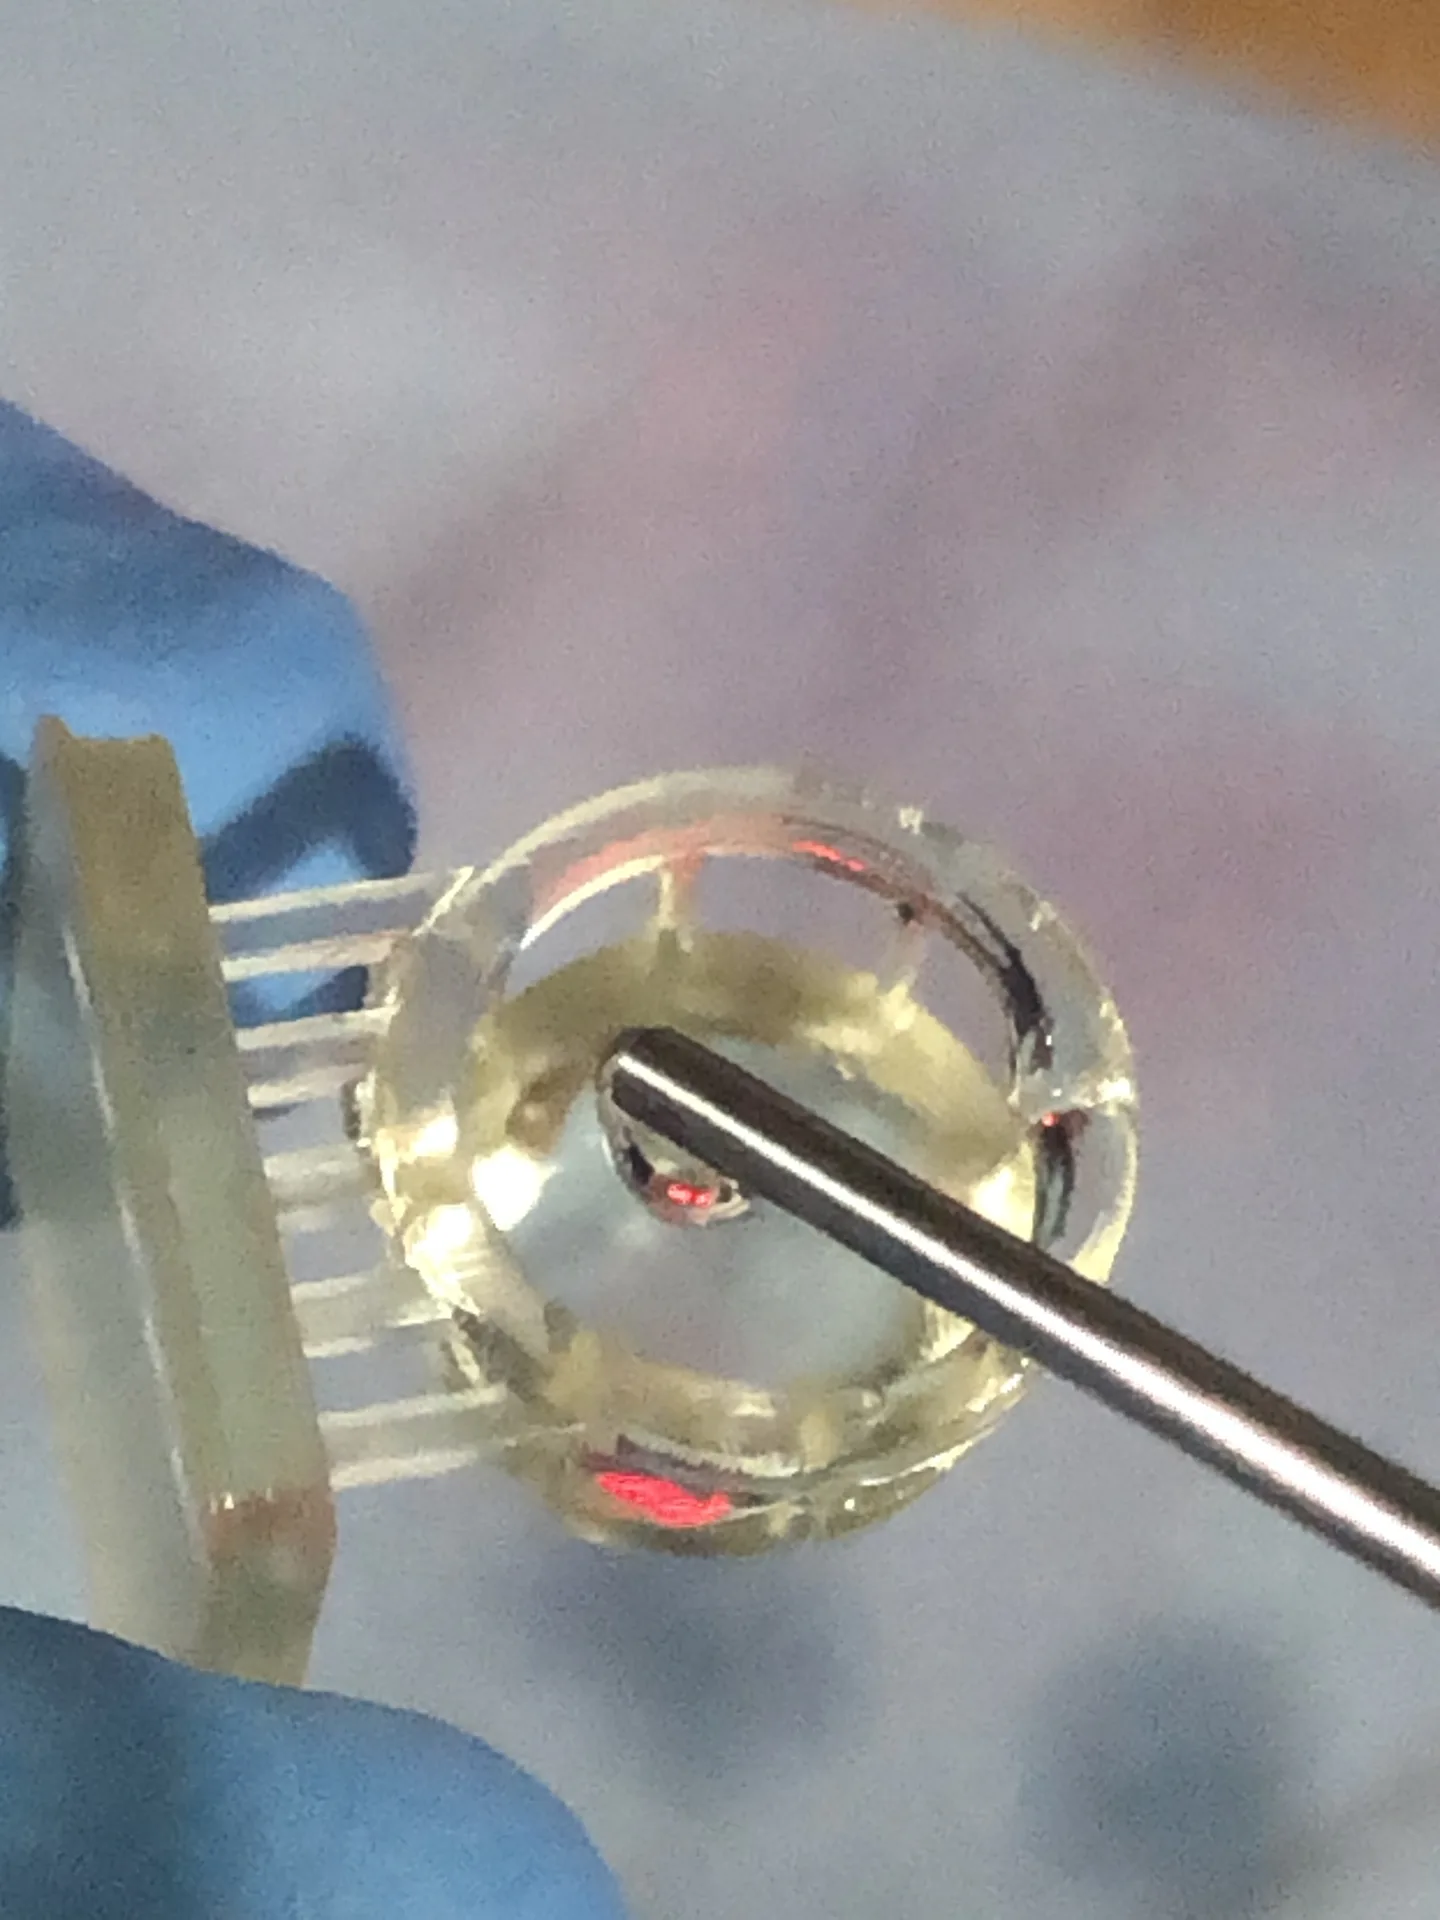
Checking a lens in its ring mount. Inspecting a ring-mounted lens after cleaning. 
Lenses set out for coating. 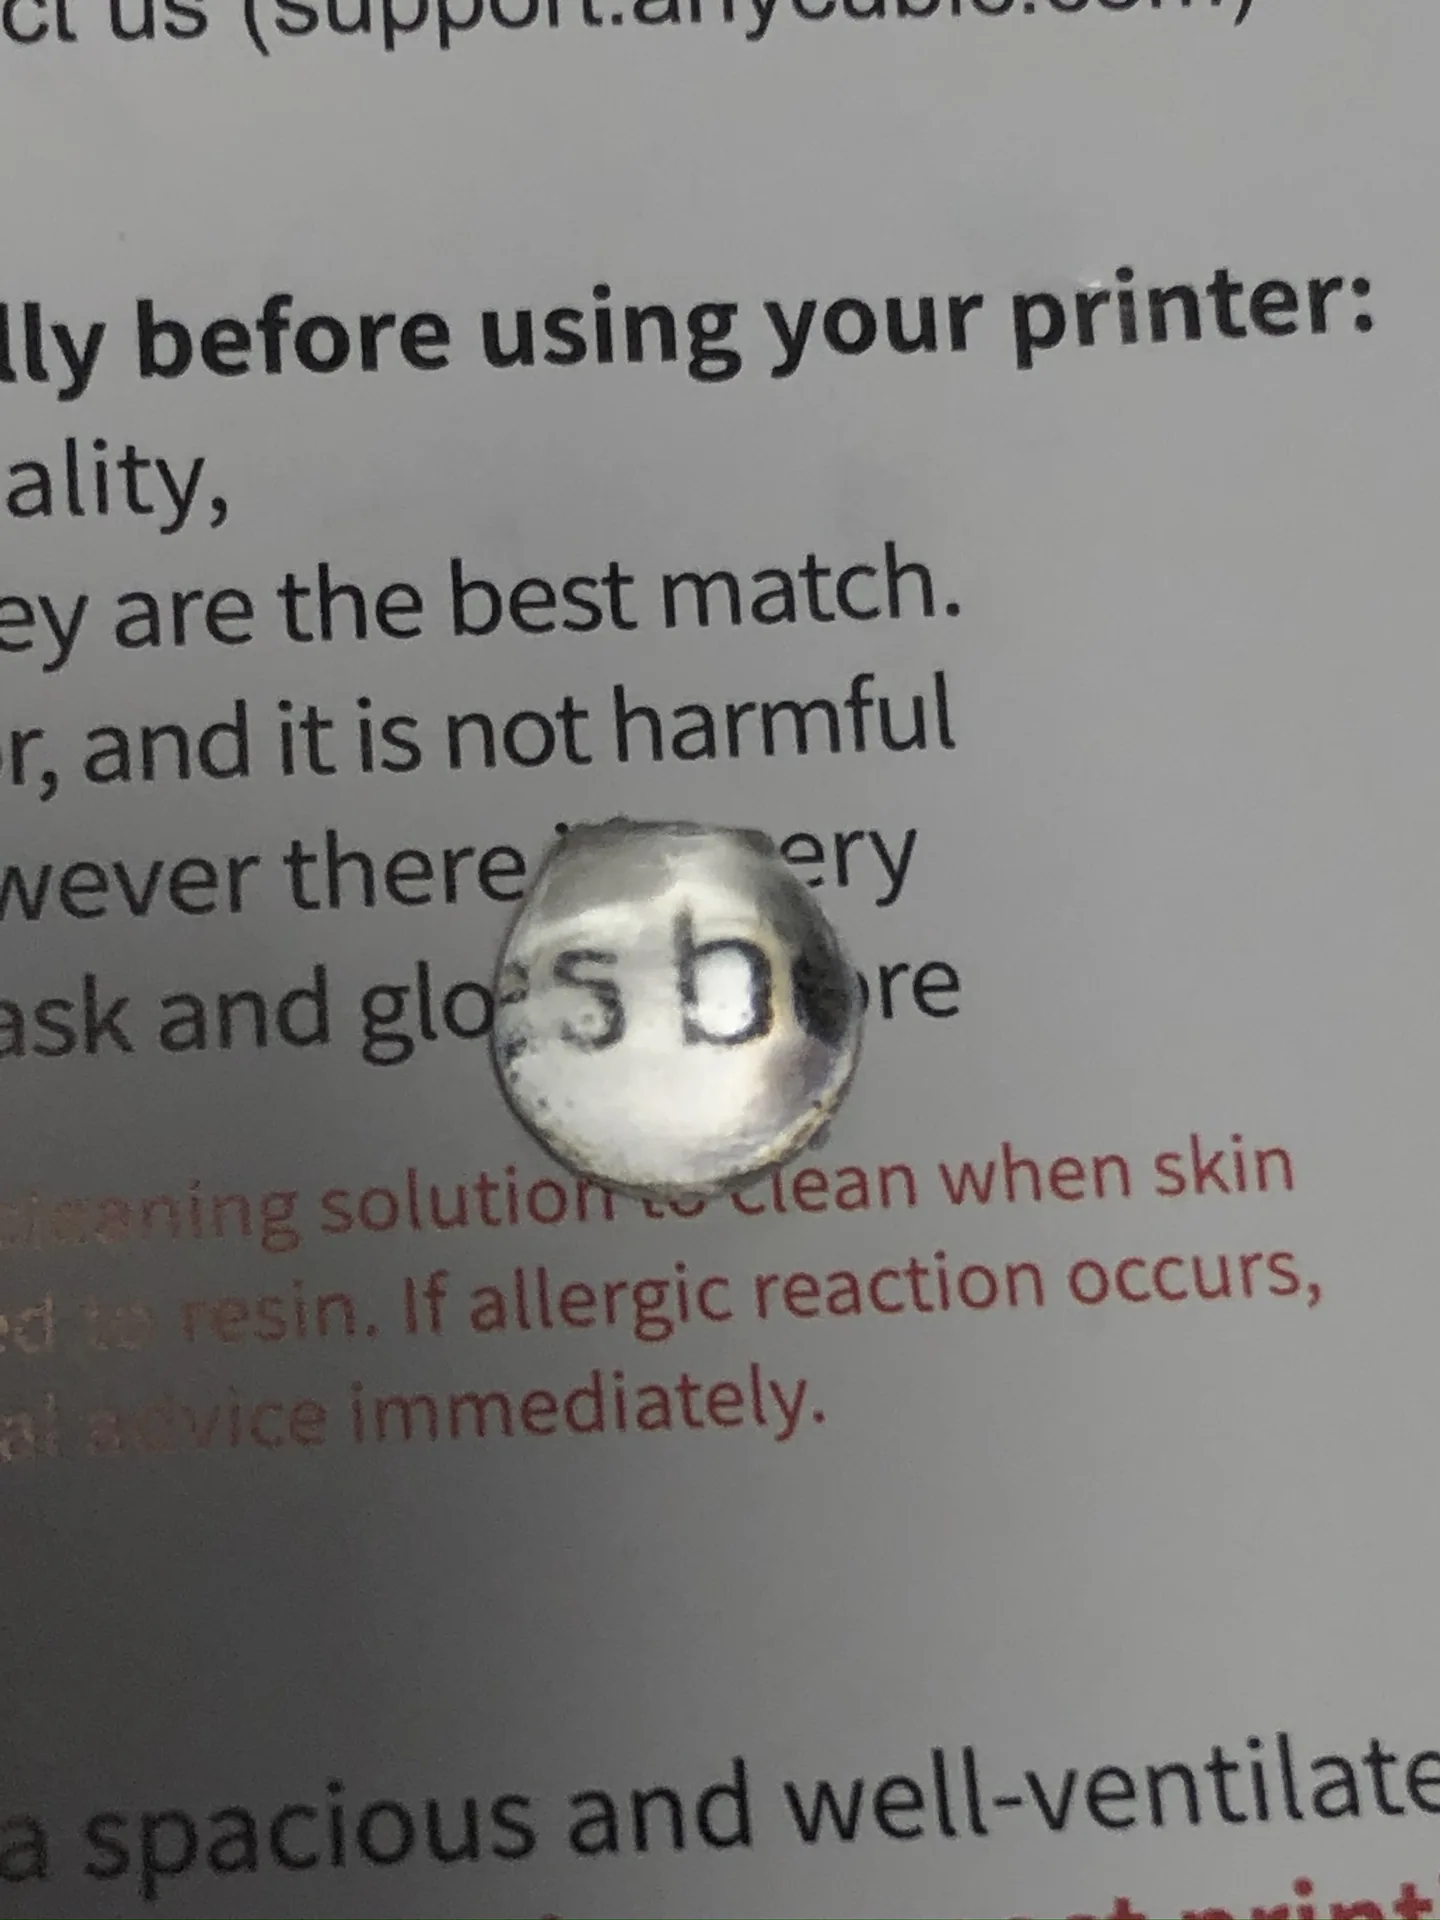
A finished lens magnifying the text under it.
Related work
-
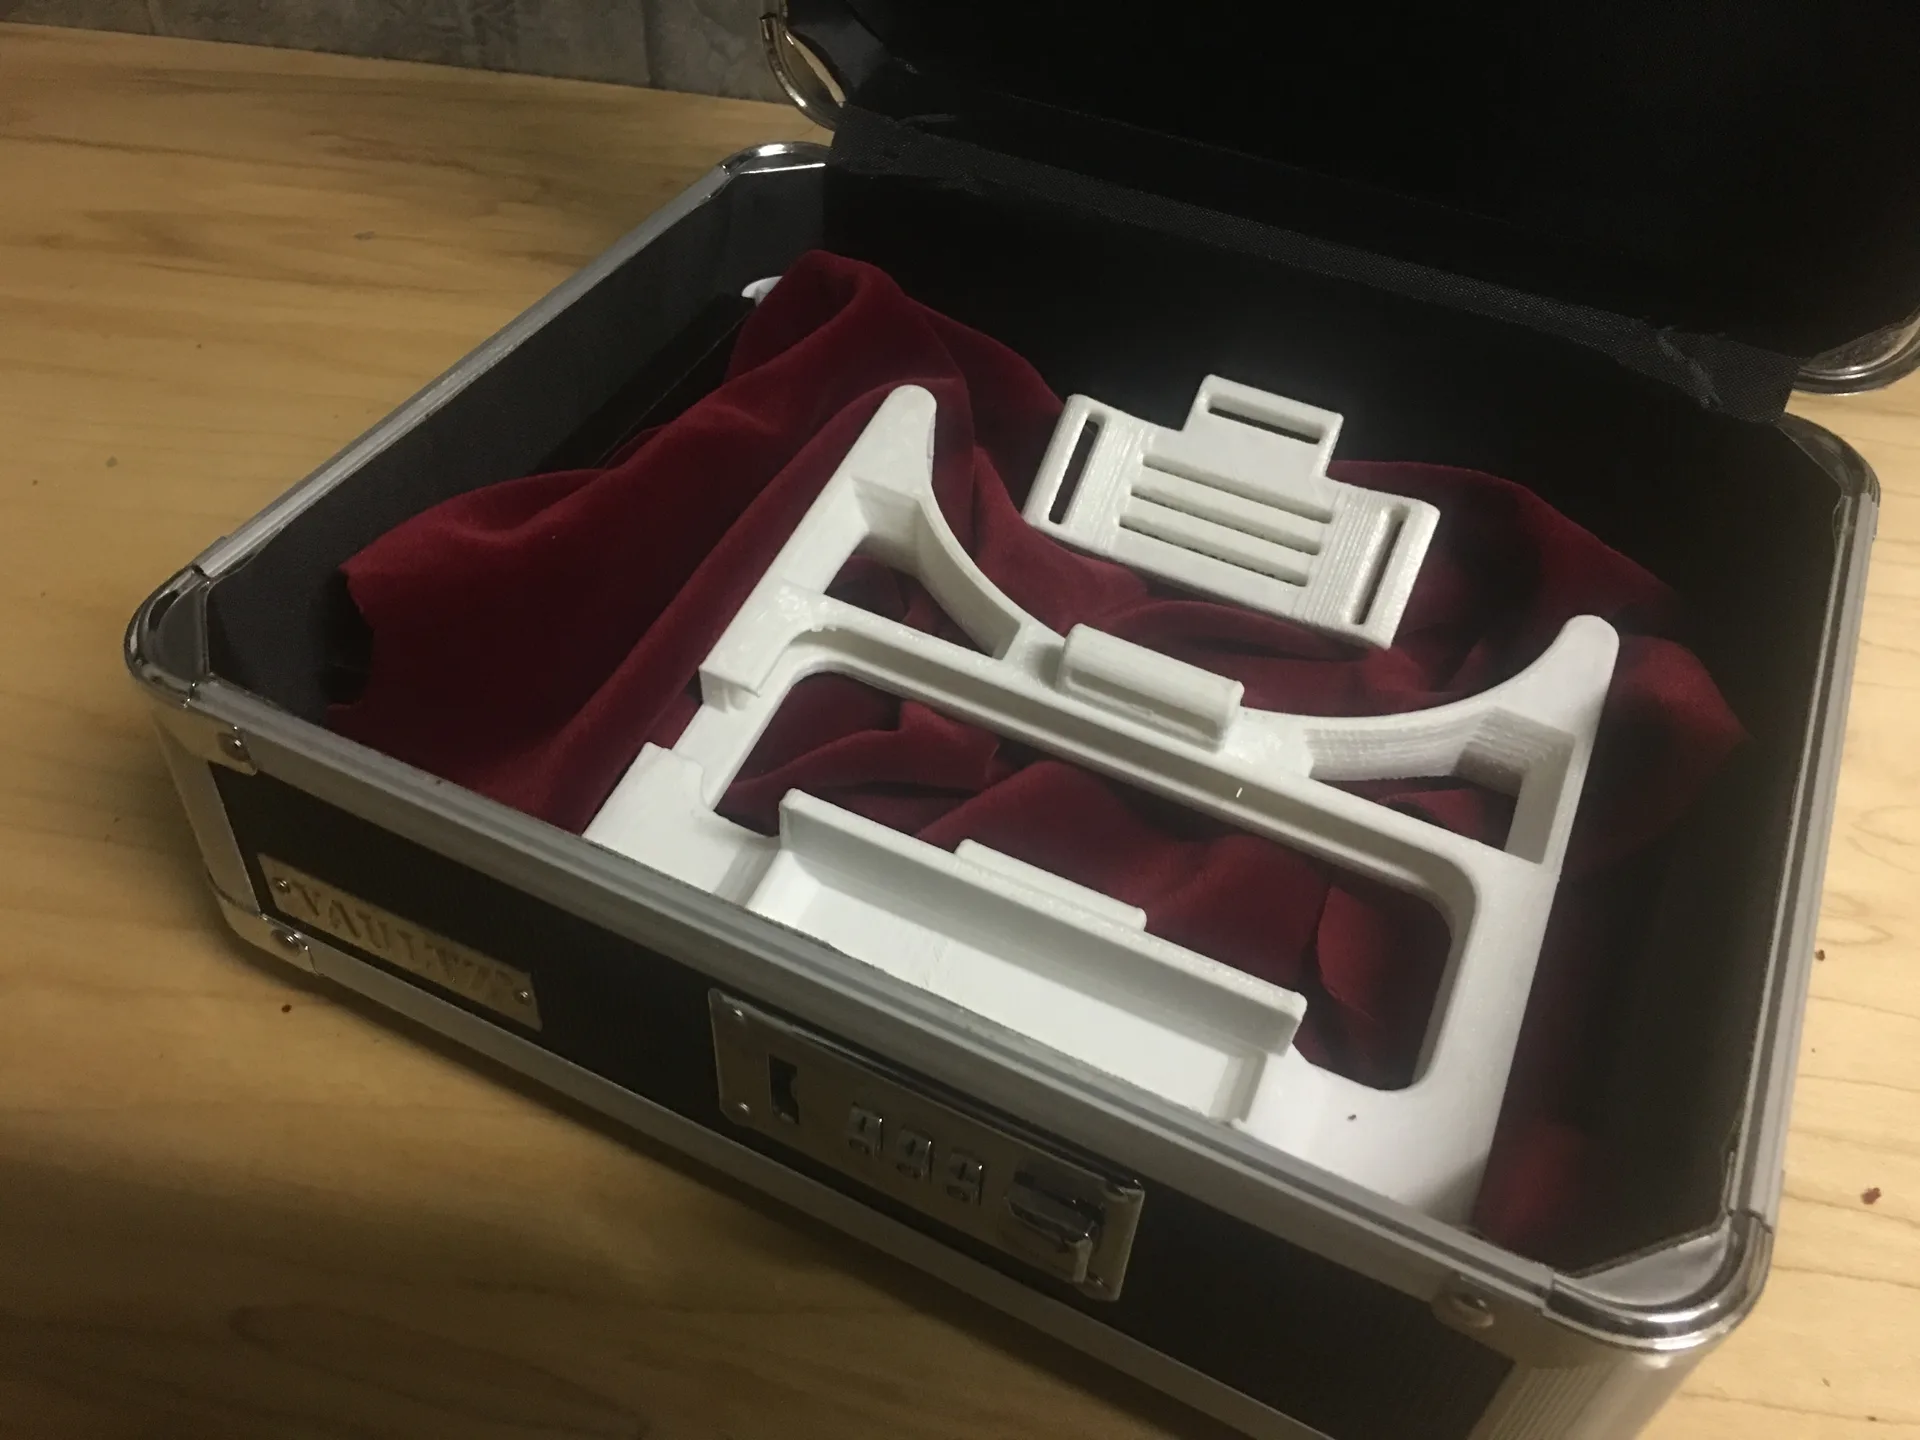
Phone-Based AR Headset
The first HoloFlect prototype, built from a phone and a hand tracker.
-
AquariOS
One platform for AR and VR apps, running several at once, on whatever headset or phone you have.
-
xR Ecosystem
A modular, device-agnostic programming interface for mixed reality.
-

The Blue Vale
A d20-style tabletop roleplaying game played in augmented reality, on almost any device.