Big Top
Character Study: Tommy
Tommy, a simple stylized character in a fitted t-shirt, taken from one sentence to a textured, rigged character walking on a library walk cycle, with each rough edge shown and what it takes a person to fix it.

Tommy is the easy case on purpose: a simple, rounded, stylized character in fitted clothes, with no coat, cape or loose hair to hide his body. Where Calder tests how the chain copes with a costume, Tommy shows what it does when the shapes are clean, and where it still needs a hand.
As on Calder's page, each step is a job in the suite that wrote an asset with its parents recorded, and each flaw comes with what fixes it today and our estimate of an experienced artist's time.
1. A concept from a sentence
Tommy began as a paragraph asking for a friendly stylized character with simple rounded shapes, short hair, a fitted teal t-shirt, dark trousers and white sneakers, in flat clean colours. The shot he was made for carries the night-market style, so Concept painted him on its rainy street.

2. Lifted out, on the second try
The isolation step cuts the character out and redraws him on a clean ground in an A-pose. The first attempt drew the new arms but kept ghosts of the old ones hanging at his sides: four arms.

The fix: run the step again, asking for exactly two arms held out from the body, with a new seed. It is a choice in the step's settings, not hand work. Estimated artist time: about a minute to spot the problem and re-run it.

3. A turnaround
Six consistent views, front, back and both sides, which are what the mesh is built from.

4. A mesh
The mesh step builds a 3D surface from the views. Tommy's simple shapes come through cleanly, with no holes and no stray geometry.

5. Texture, and a fix that moved into the pipeline
The first texture showed the classic projection fault: colour landing on the wrong part. Teal from the t-shirt painted his fingertips, and a patch of skin landed on the shirt's side.
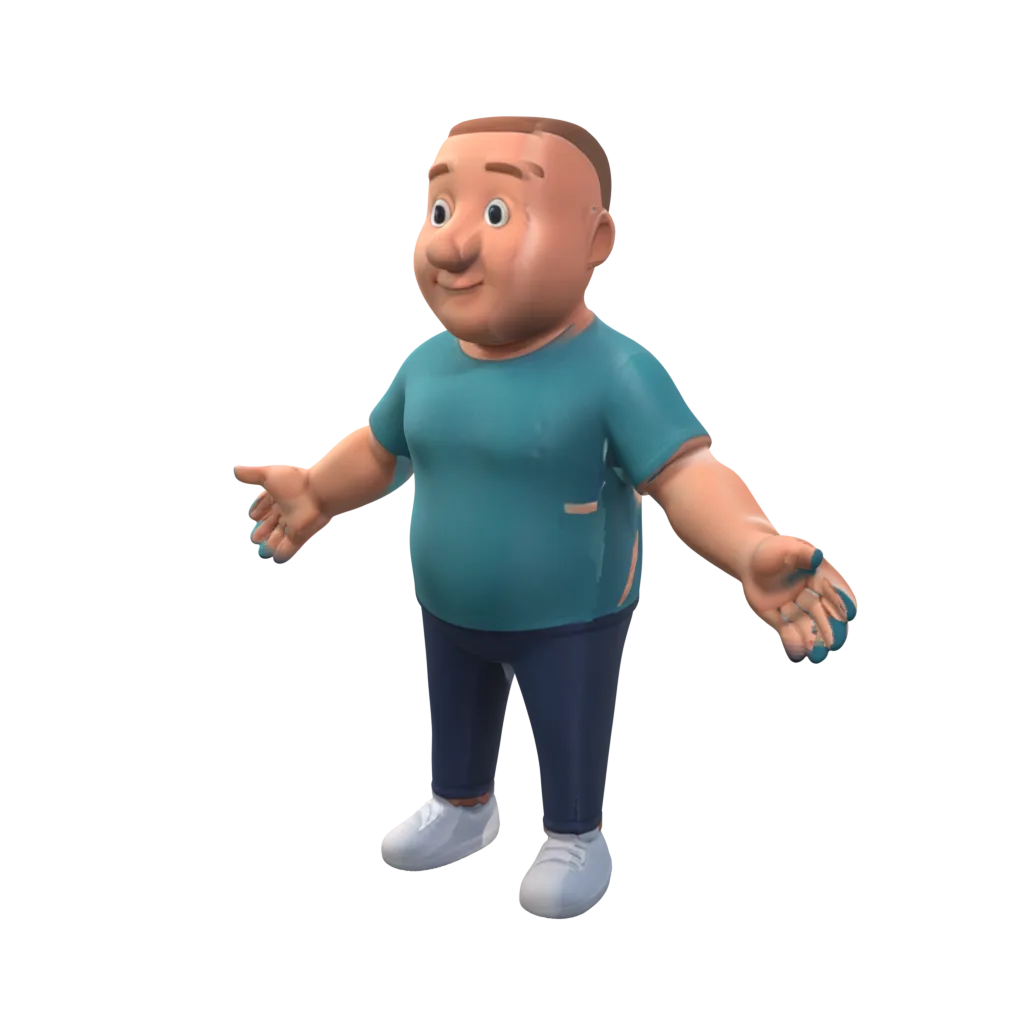
That one was fixed in the suite rather than by hand: a view's colour now goes only where that view actually shows the part it lands on. The re-baked Tommy has clean hands and a clean shirt.
One mark remains: a faint pale smear on one cheek and the temple, where two views of the head blend.

The fix: paint over the patch in a 3D paint program. Estimated artist time: about 5 to 10 minutes.
6. A rig
A standard humanoid skeleton is fitted to Tommy, its joints placed at his hips, knees, ankles, shoulders, elbows, wrists, neck and head, and the rigging model binds his surface to it.

No one placed these joints: they were put on the body automatically by measuring the mesh, the same way as on Calder. In Rigging a person can move any of them, or place them all by hand with a few clicks.
7. Walking, and a creased shirt
The motion model generates a walk from a line of text, and it plays on Tommy's own rig. His legs and arms move well; the flaw is in the skin. As his arms swing, the shirt around his chest and shoulders creases unevenly, because the skin weights there are shared between the arm bones and the chest.

The fix: smooth the skin weights around the shoulders and chest with a weight-painting brush, in Big Top's Rigging app or in Blender on a round trip. Estimated artist time: 15 to 30 minutes.
The video at the top of the gallery is the same rig walking a cycle from the curated motion library, textured: the creases show at the shoulders there too.
Walk motion from the 100STYLE dataset (Mason, Starke and Komura), CC BY 4.0.
What it took
Out of seven steps, four needed nothing from a person beyond starting them and looking at the result. One flaw, the texture bleed, was fixed in the suite itself, so no character needs that touch-up again. The rest is a minute to re-run an isolation, 5 to 10 minutes of paint and 15 to 30 minutes of weight smoothing: under an hour of artist time, all of it editing what the suite made rather than starting again.
Gallery
Tommy walking on his fitted rig, with a walk cycle from the motion library, textured. Walk motion from the 100STYLE dataset (Mason, Starke and Komura), CC BY 4.0. Tommy's concept, painted in the show's night-market style.
Related work
-

BigBluePipeline
A VFX studio pipeline, rebuilt as the artist-side front end for Big Top.
-
Depth2STL and Obj2GLB
Two small open-source tools for getting 3D data where it needs to go.
-

QIE Studio
An image generation and editing studio, built by an AI agent working unattended from our specification.
-
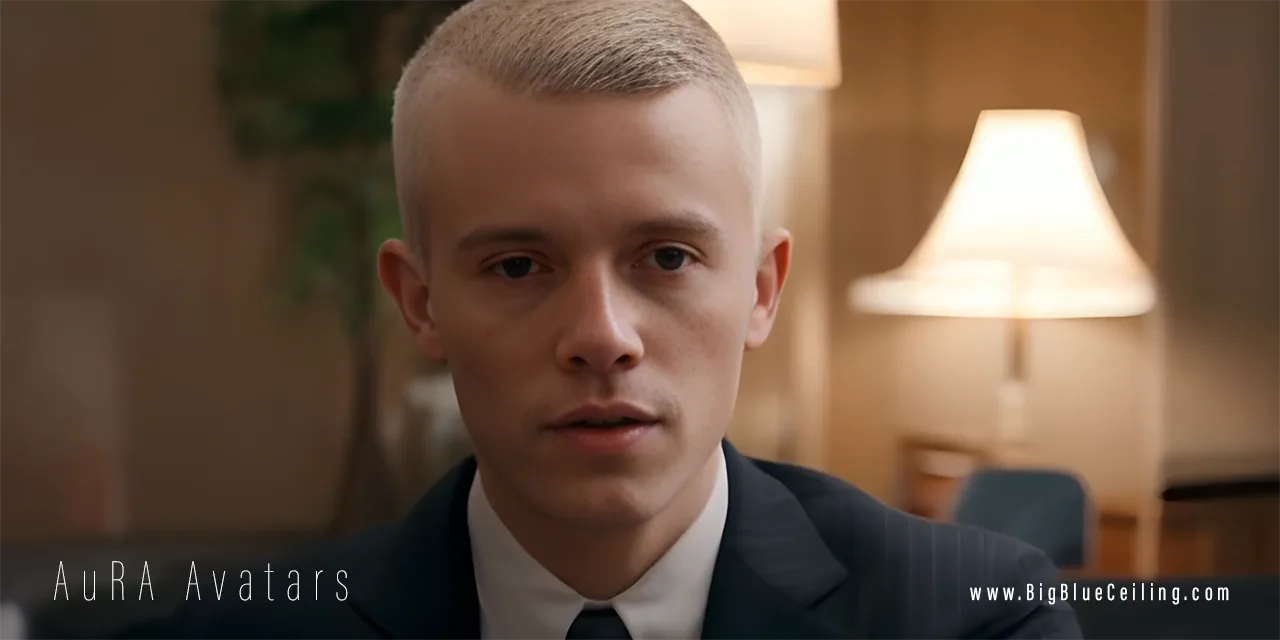
AuRA Avatar Generator
Customizable, photorealistic presenters for AI-generated video briefings.